Here I shall show an example of my attempt to make the Heller Illustrious kit look more like the real HMS Illustrious ca. 1940. Near the bow are two searchlight platforms, one port and one starboard. Let’s take a look at the problem.
Kit versus reality (yes, kit is starboard and actual is port but they were same on both sides:


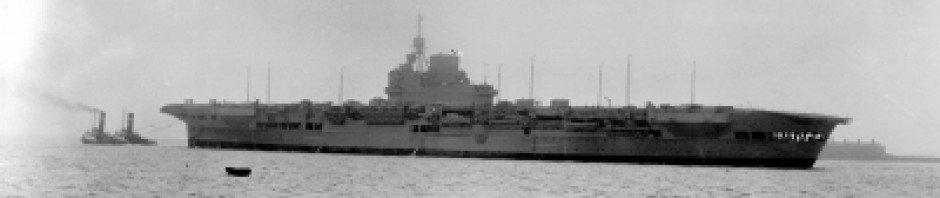
What was Heller thinking? Looks like they ‘factored out’ the complex shape into something that looked more suitable for a graceful aircraft carrier. I looked at pictures of Illustrious post war and even then the searchlight platform hadn’t really changed from 1940.
After much thinking about how to approach the problem, I turned to the razor saw to remove the molded solid platform + support structure: 
I also needed to remove the existing platform which was too thick and the wrong shape from the plan view. The trusty Dremel made quick work of the coarse work, then I finished with a file and sanding sticks.

With the cutting completed, time to ‘weld’ in some styrene to align with the rest of the hull (not a great welding job, some patching will be necessary):

I then took the 1/100 plan from Hatton’s book and scaled it in Photoshop to 1/400, printed, traced, and cut out a new platform. I glued in the new platform and could see that some gaps would need to be filled. Fortunately, this was more-or-less consistent with the deck plan view that showed the kit had recessed the platform too far inward.
The second photo shows how I approached filling in an arc. Rather than fill from the outer edge of the arc trying to create an inner ‘arc’ that matched the outline of the platform, I cut a strip of brass sheet and folded/rolled it to get the inner ‘arc’ shape I wanted. Some superglue and then I could stuff the space between the brass and the deck with miscellaneous styrene bits that would be sanded down to deck height. You can also see in the photos the awful fit between hull and deck that will require delightful filling, sanding and paint touch-up much later in this project.


In a bit of inspiration, I decided to make my own photo etch for the support gussets from the hull upwards to the platform. That will come later in the project so hang tight for what will no doubt be an interesting photo etch ‘lab’ experience (something I’ve never done before)
This should be fun, next up is counting holes
