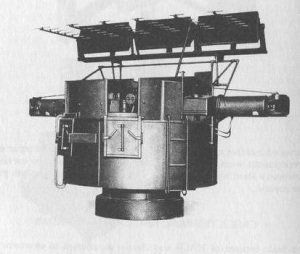
The Heller kit comes with pieces for six HADT (High Angle Detector Tower) but at the time of Taranto, the Illustrious only had four. The kit also includes some crude pieces for Type 285 radar that would go on top of the HADT. But, once again, these weren’t deployed on Illustrious at the time of Taranto. While the White Ensign Models PE radar set for Illustrious are nice looking, they were irrelevant. This created a dilemma for me as the HADT kit pieces are delivered to the modeler with mounts for the radar.
I briefly considered drilling out the top of the HADT and superdetailing it to look like this picture (minus the radar). However, the practical aspects of drilling out something with scale-like sides (despite purchasing a hole cutter bit for my Dremel) gave me pause. I didn’t even consider building four HADT from scratch.
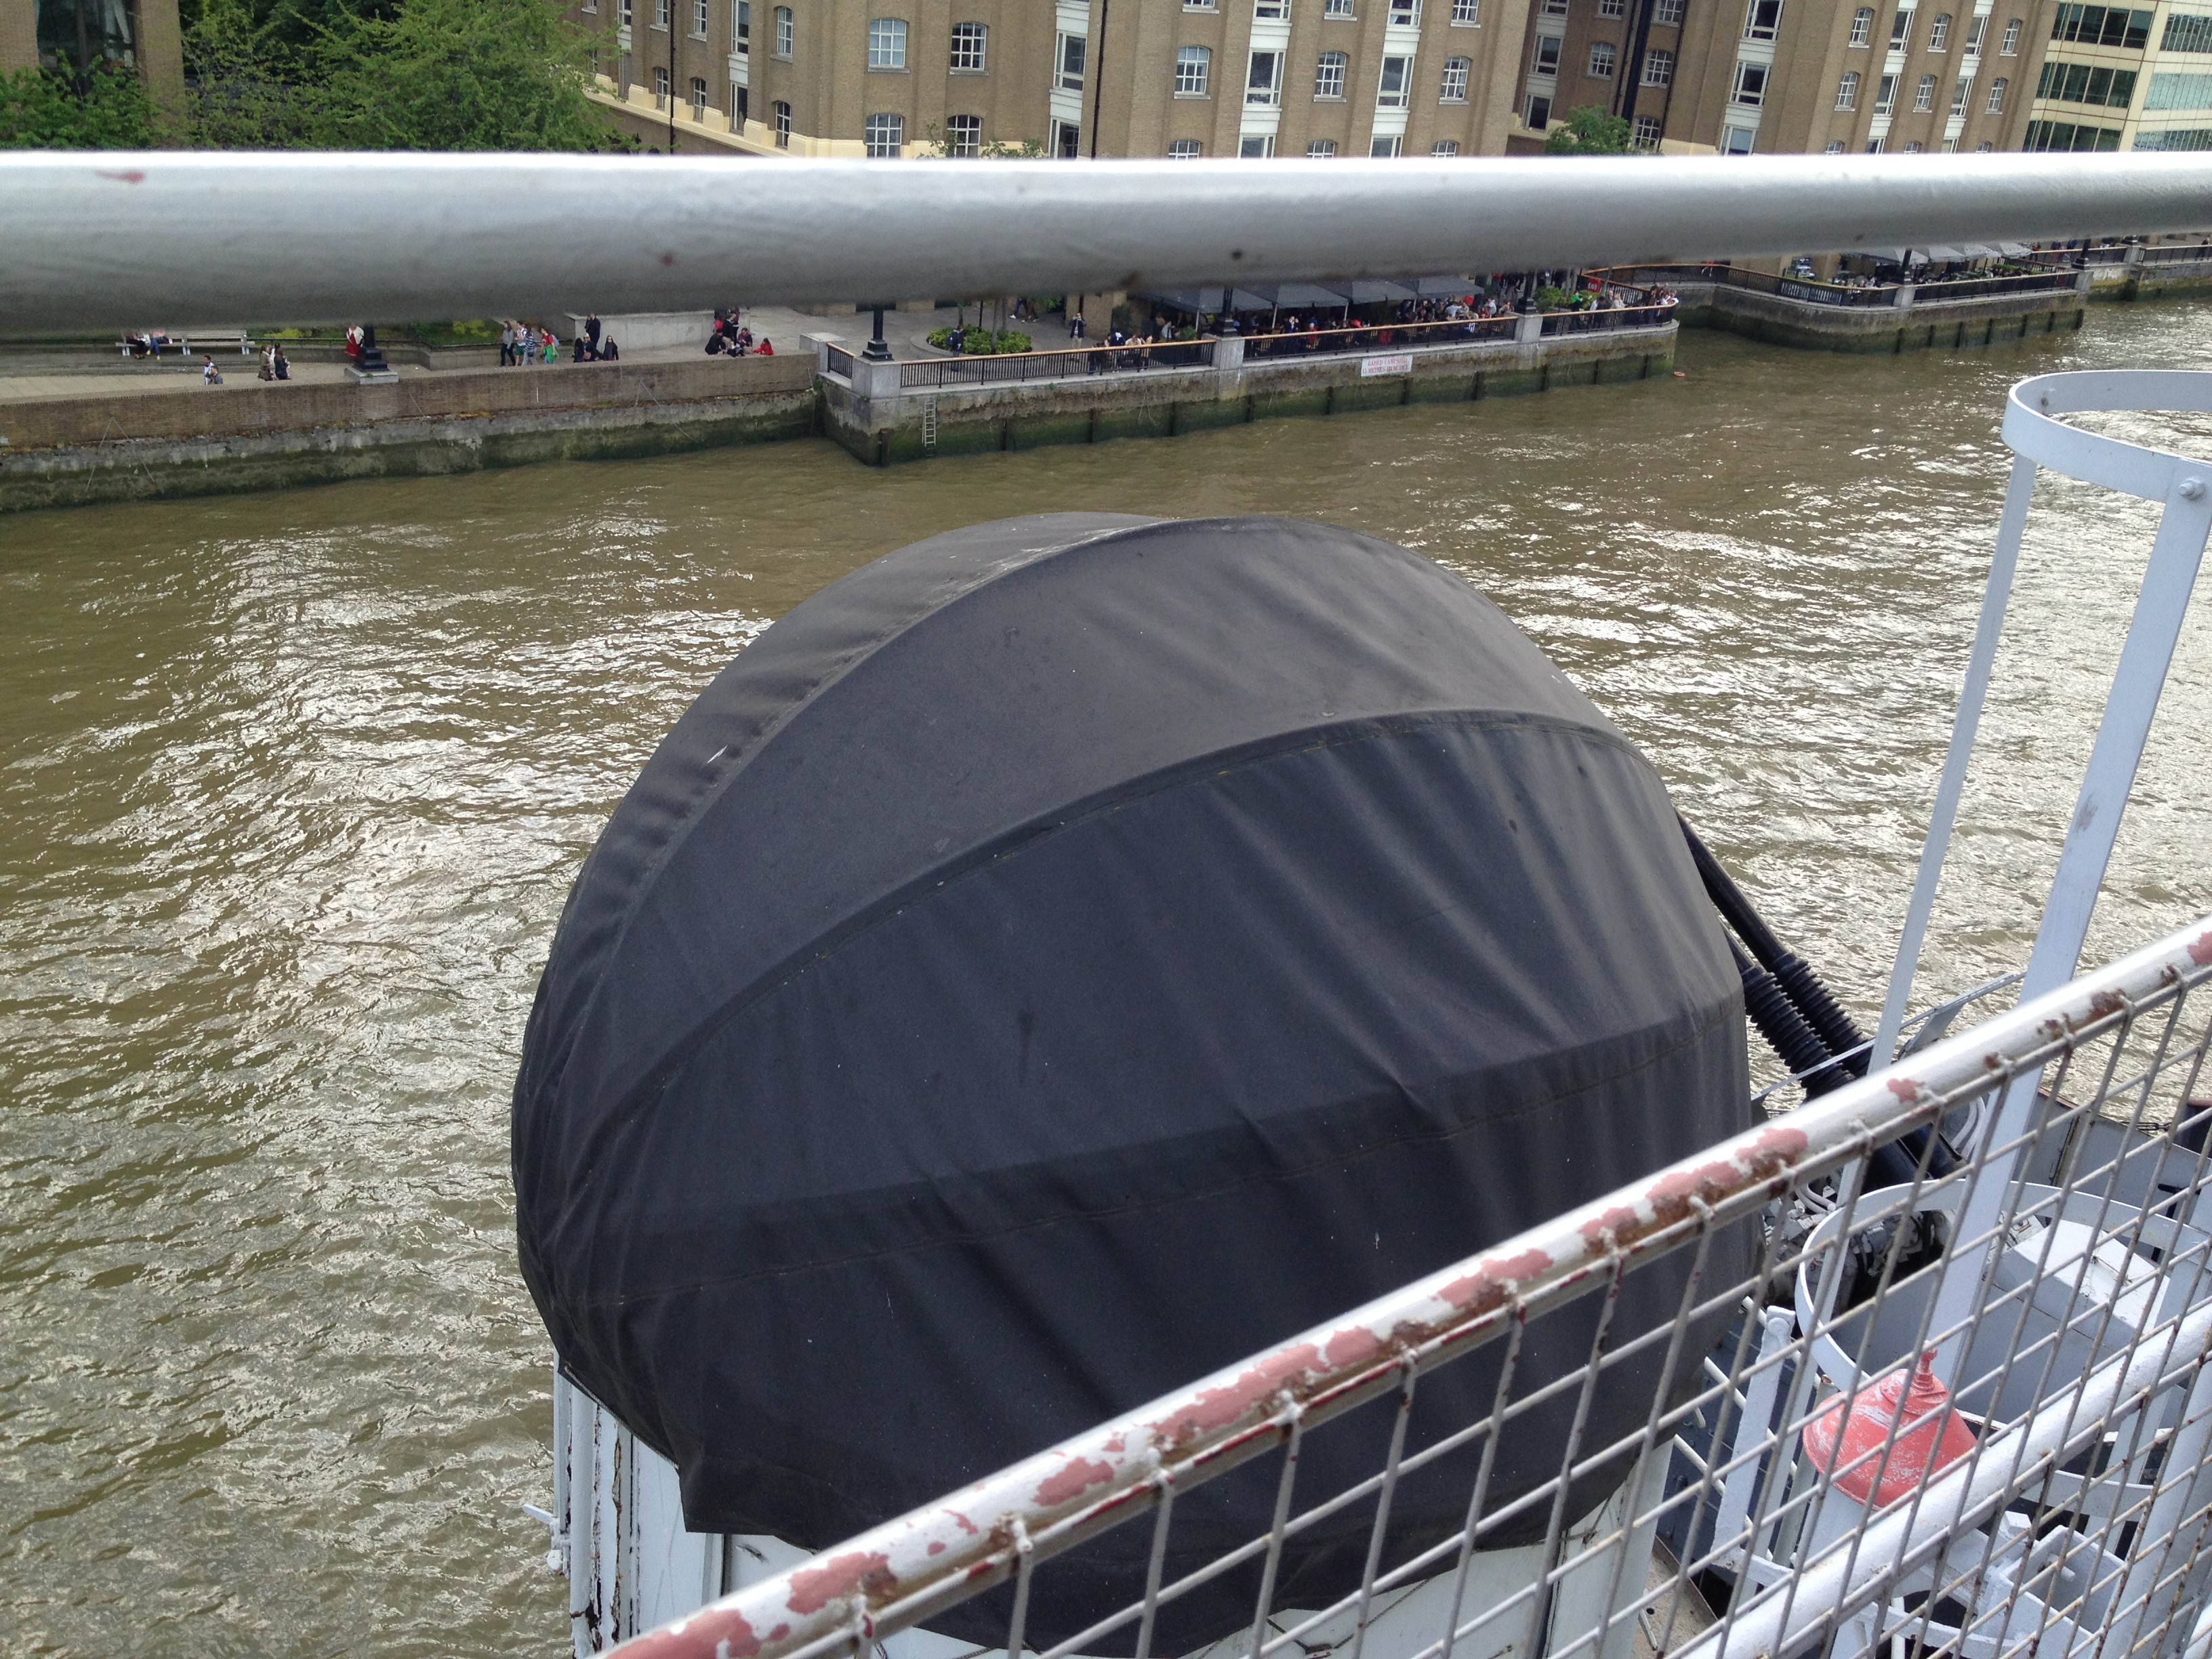
So, I decided to put a cover on the HADT similar to the one in this picture (see the right side of the first photo or the one taken from a visit to HMS Belfast – second photo):
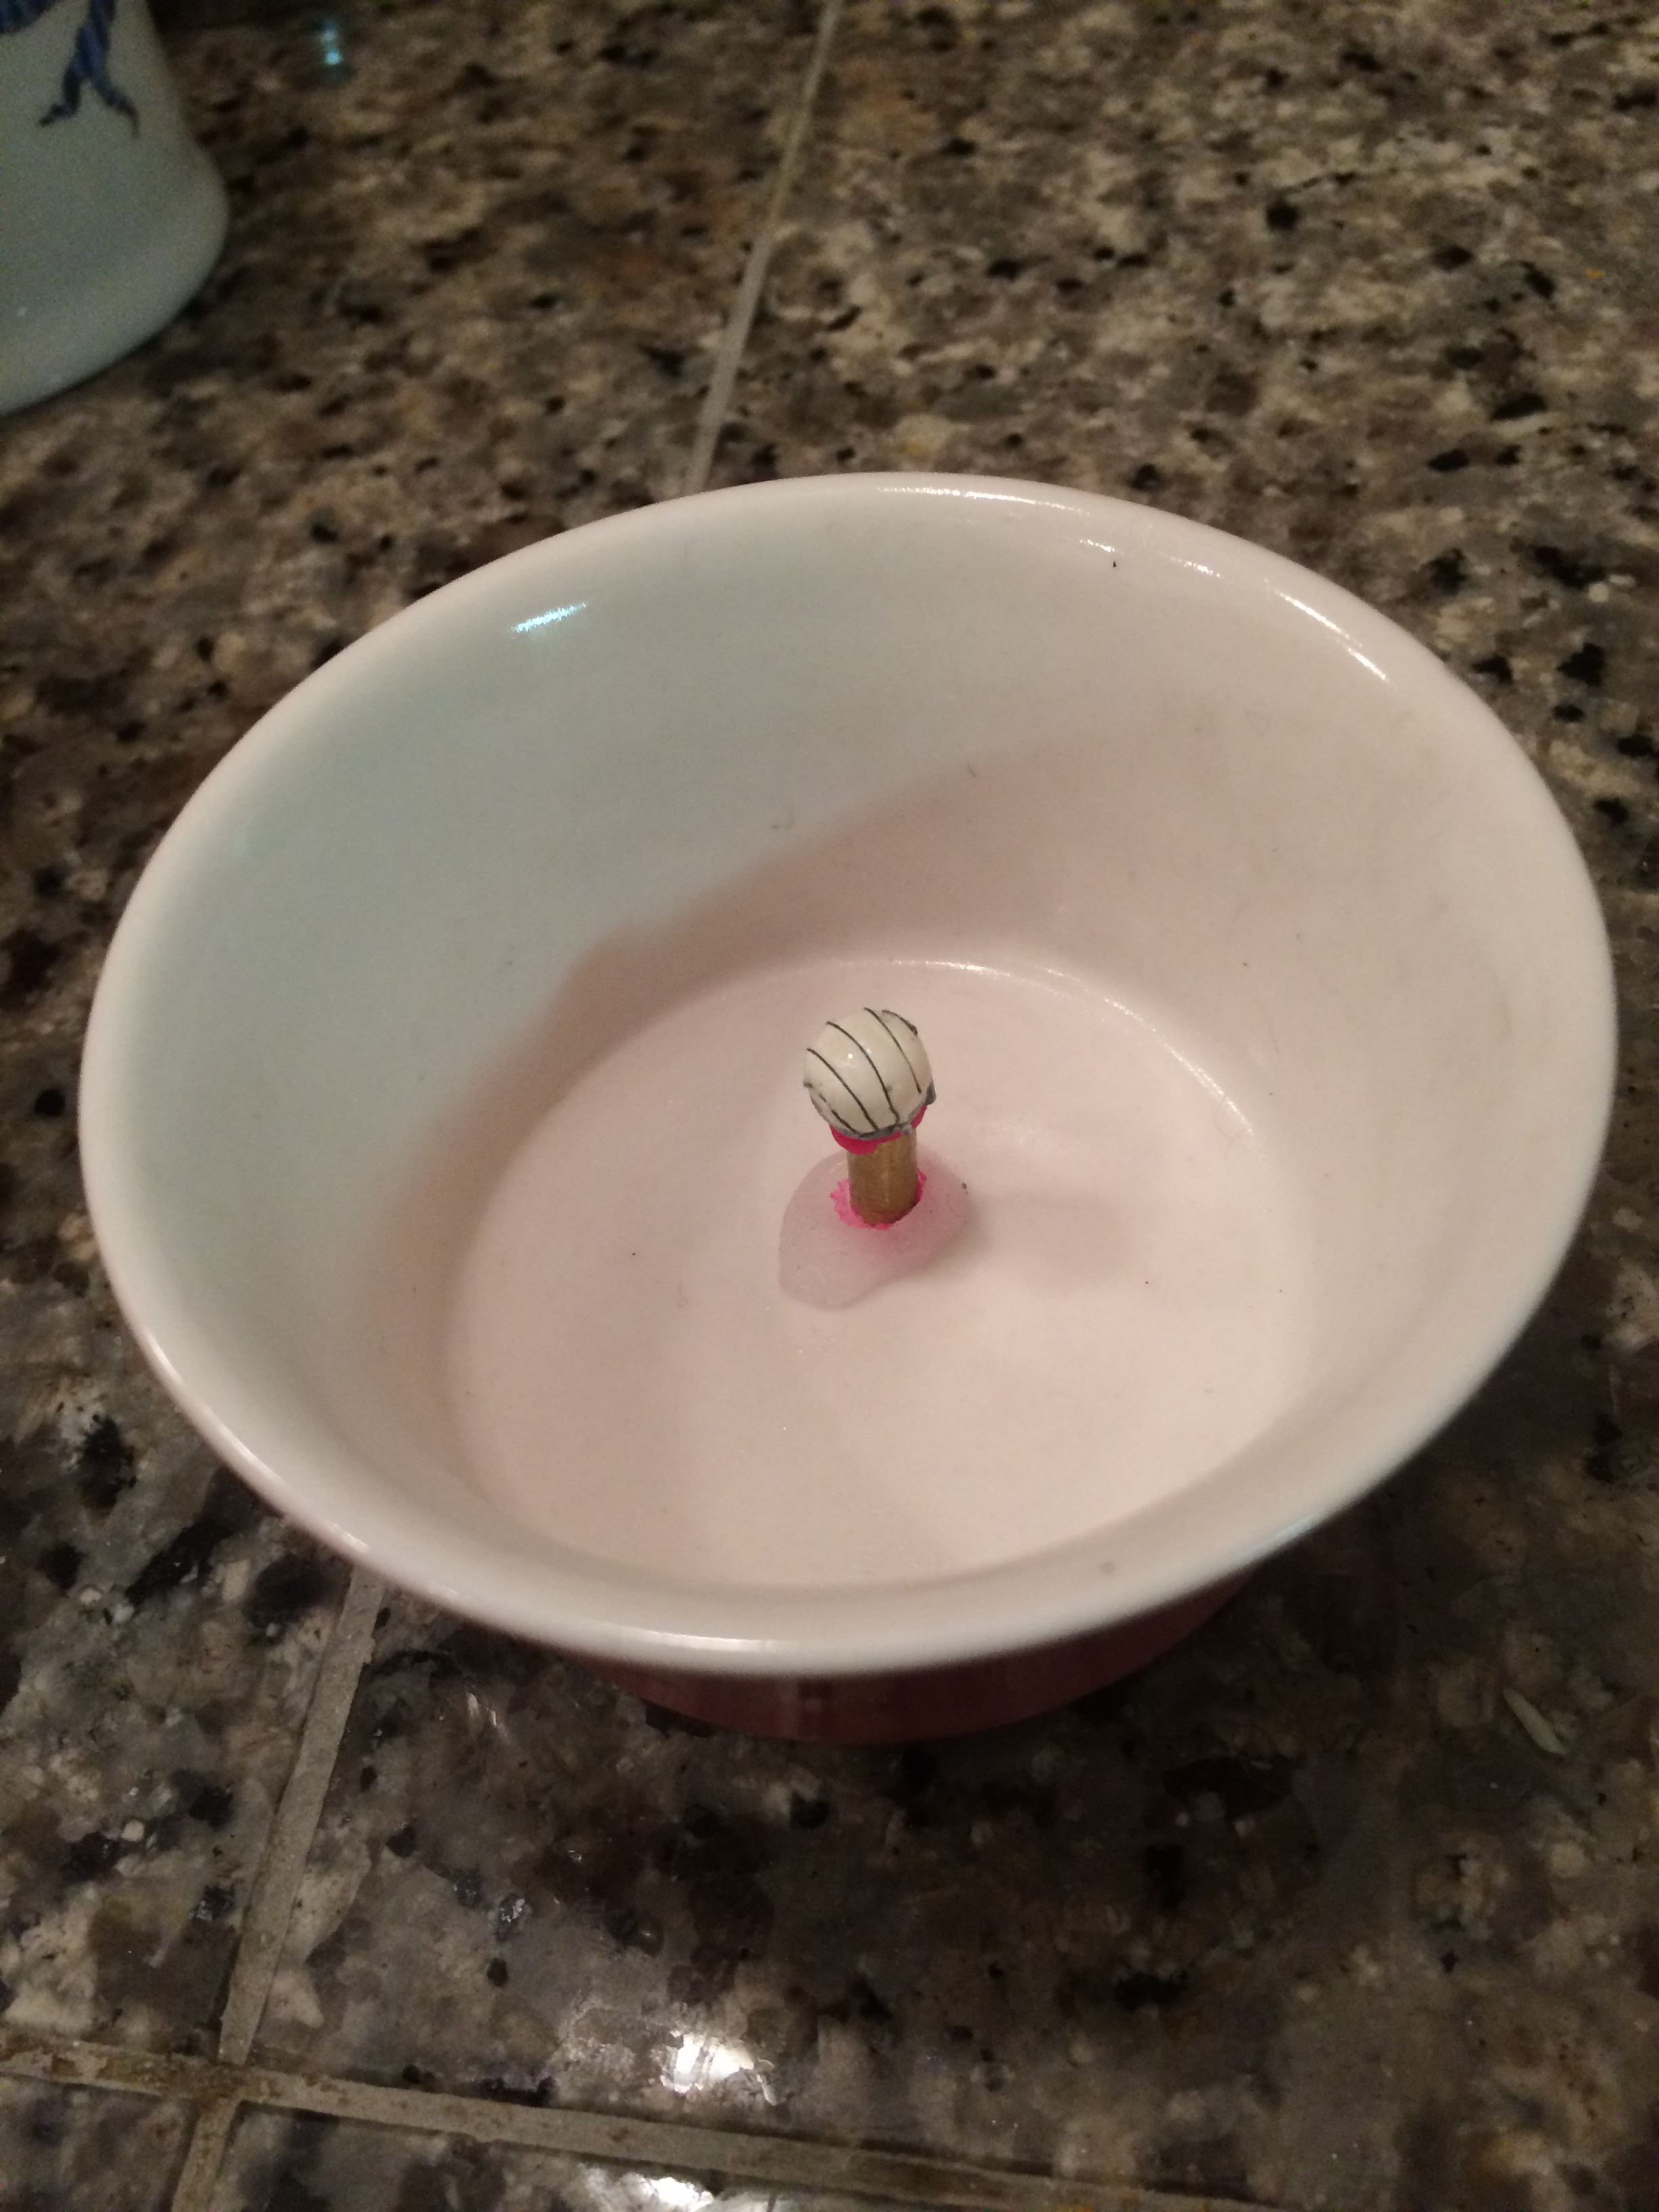
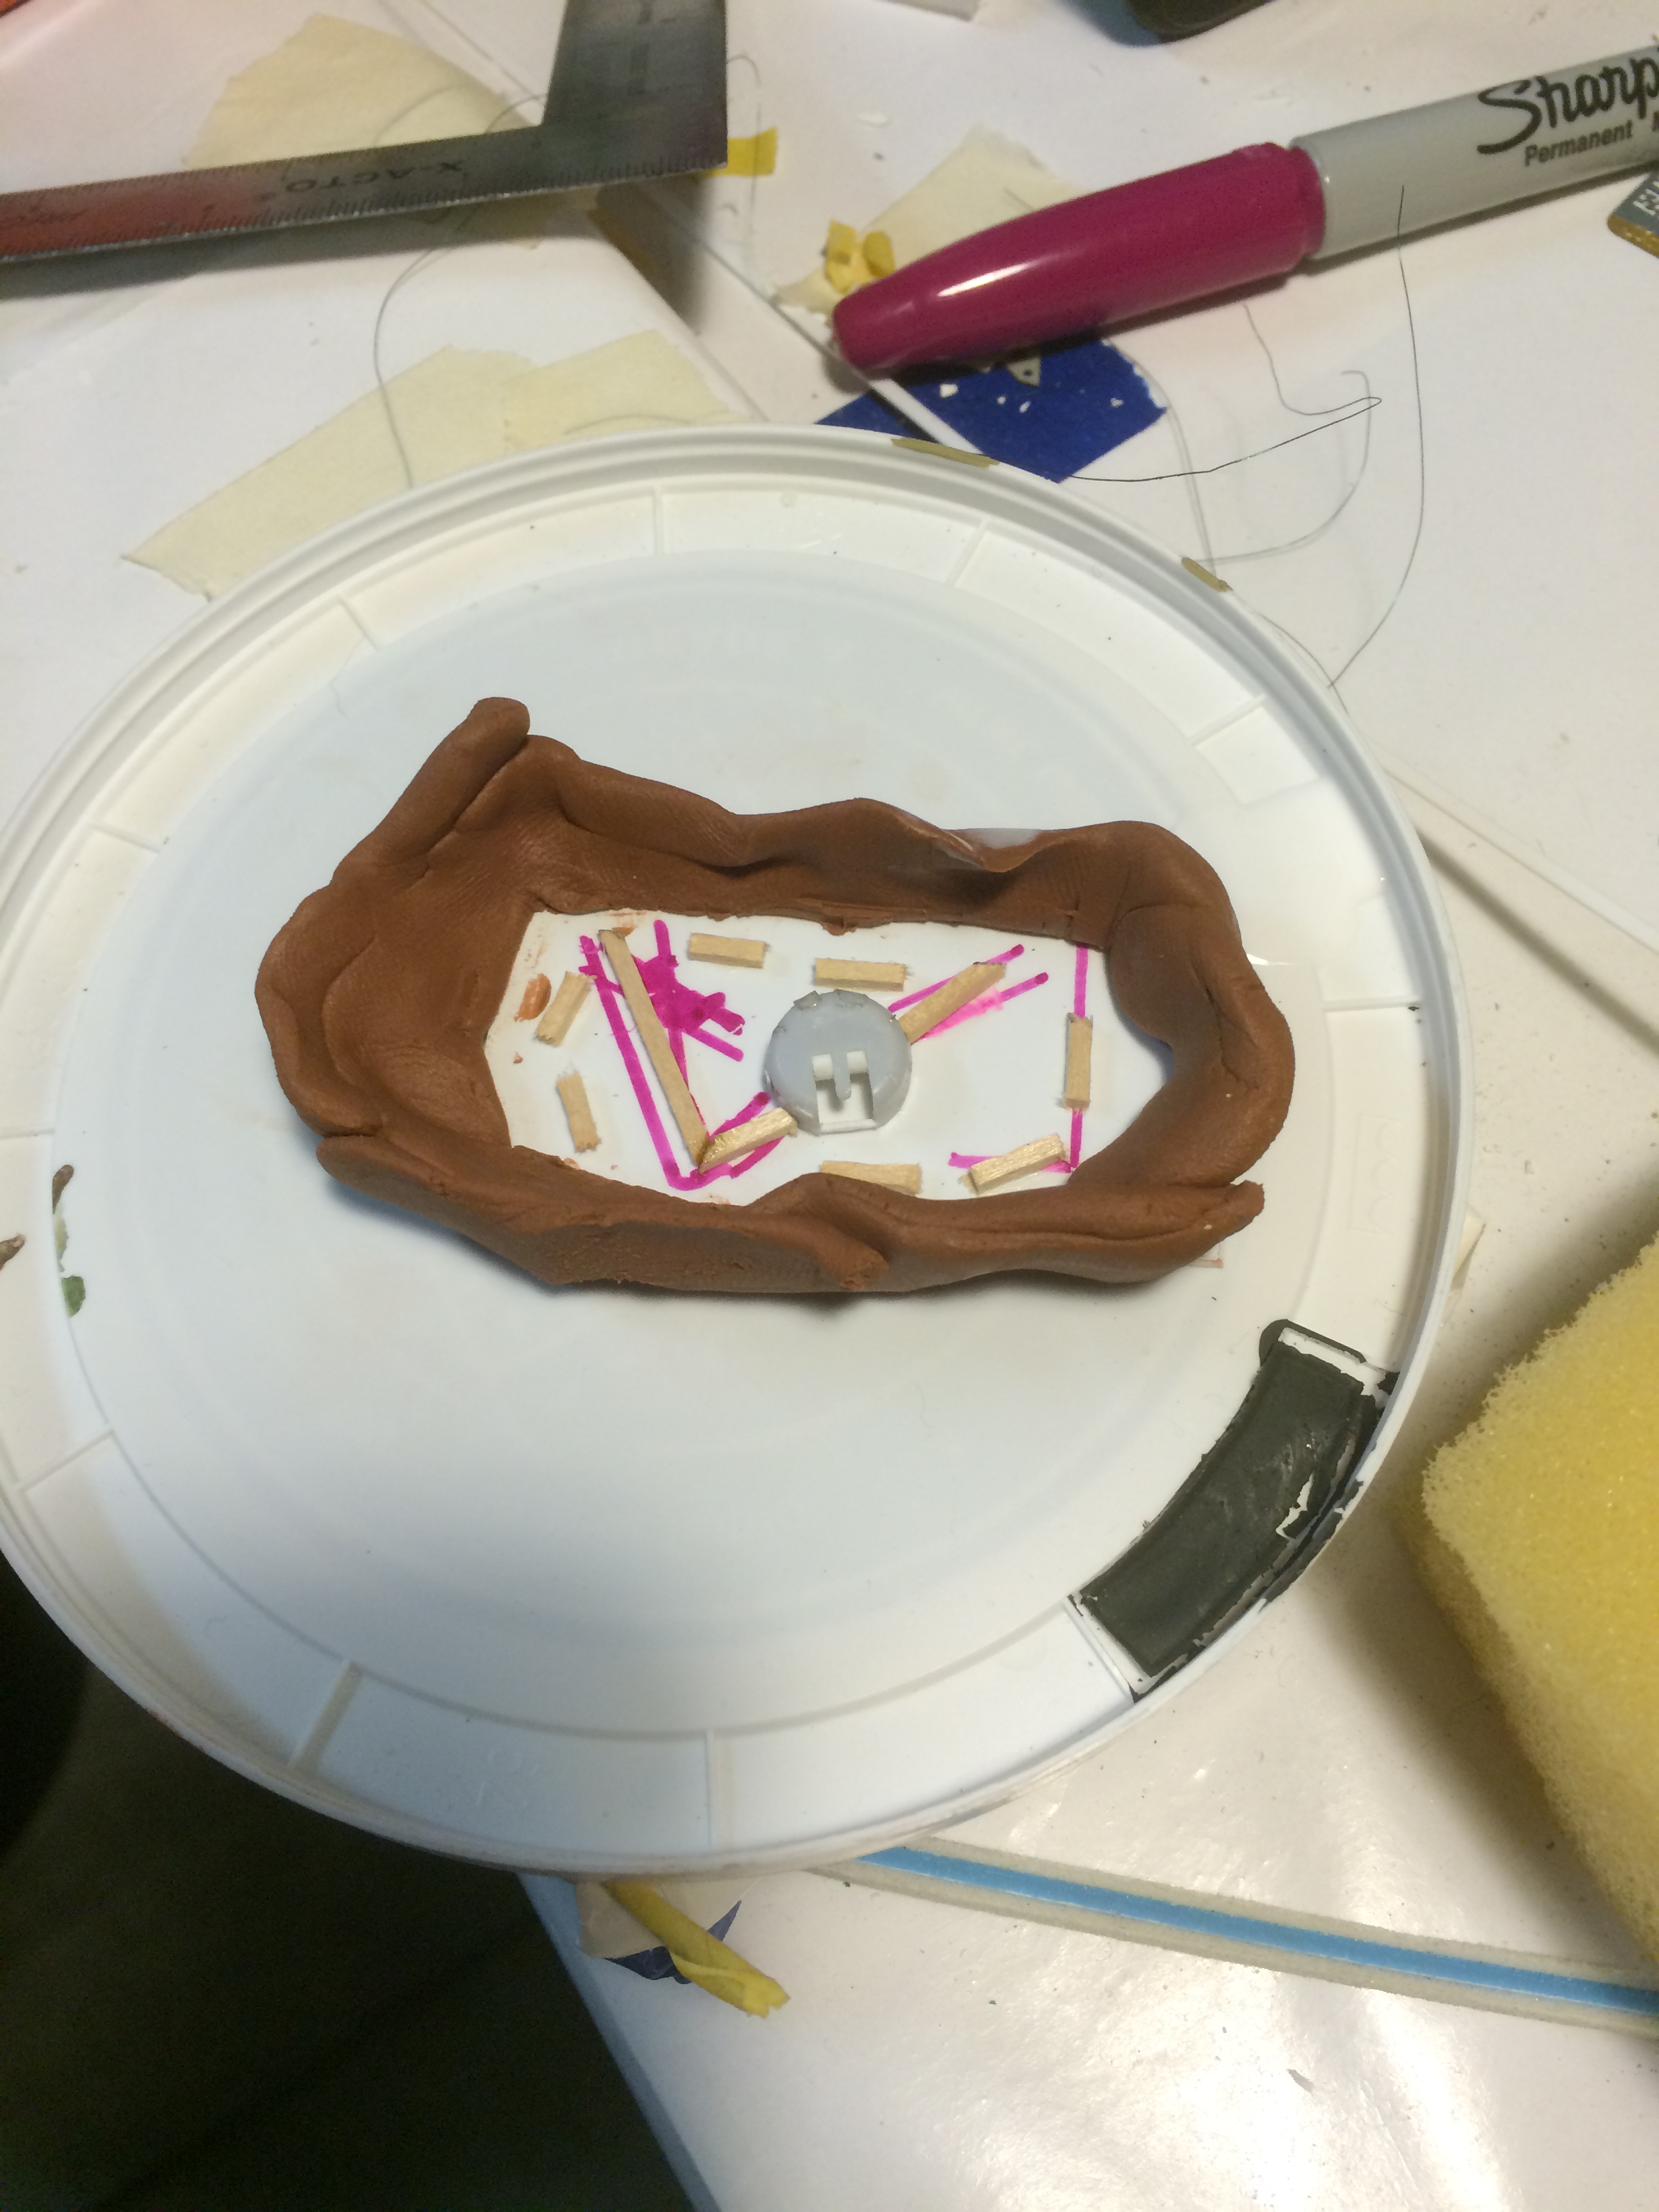
Step one was to build a pattern from Milliput plus 38 gauge wire to simulate the ribs in the cover. Then I would create a mold and cast three more covers using epoxy resin. Here is the pattern mounted in a small dish:
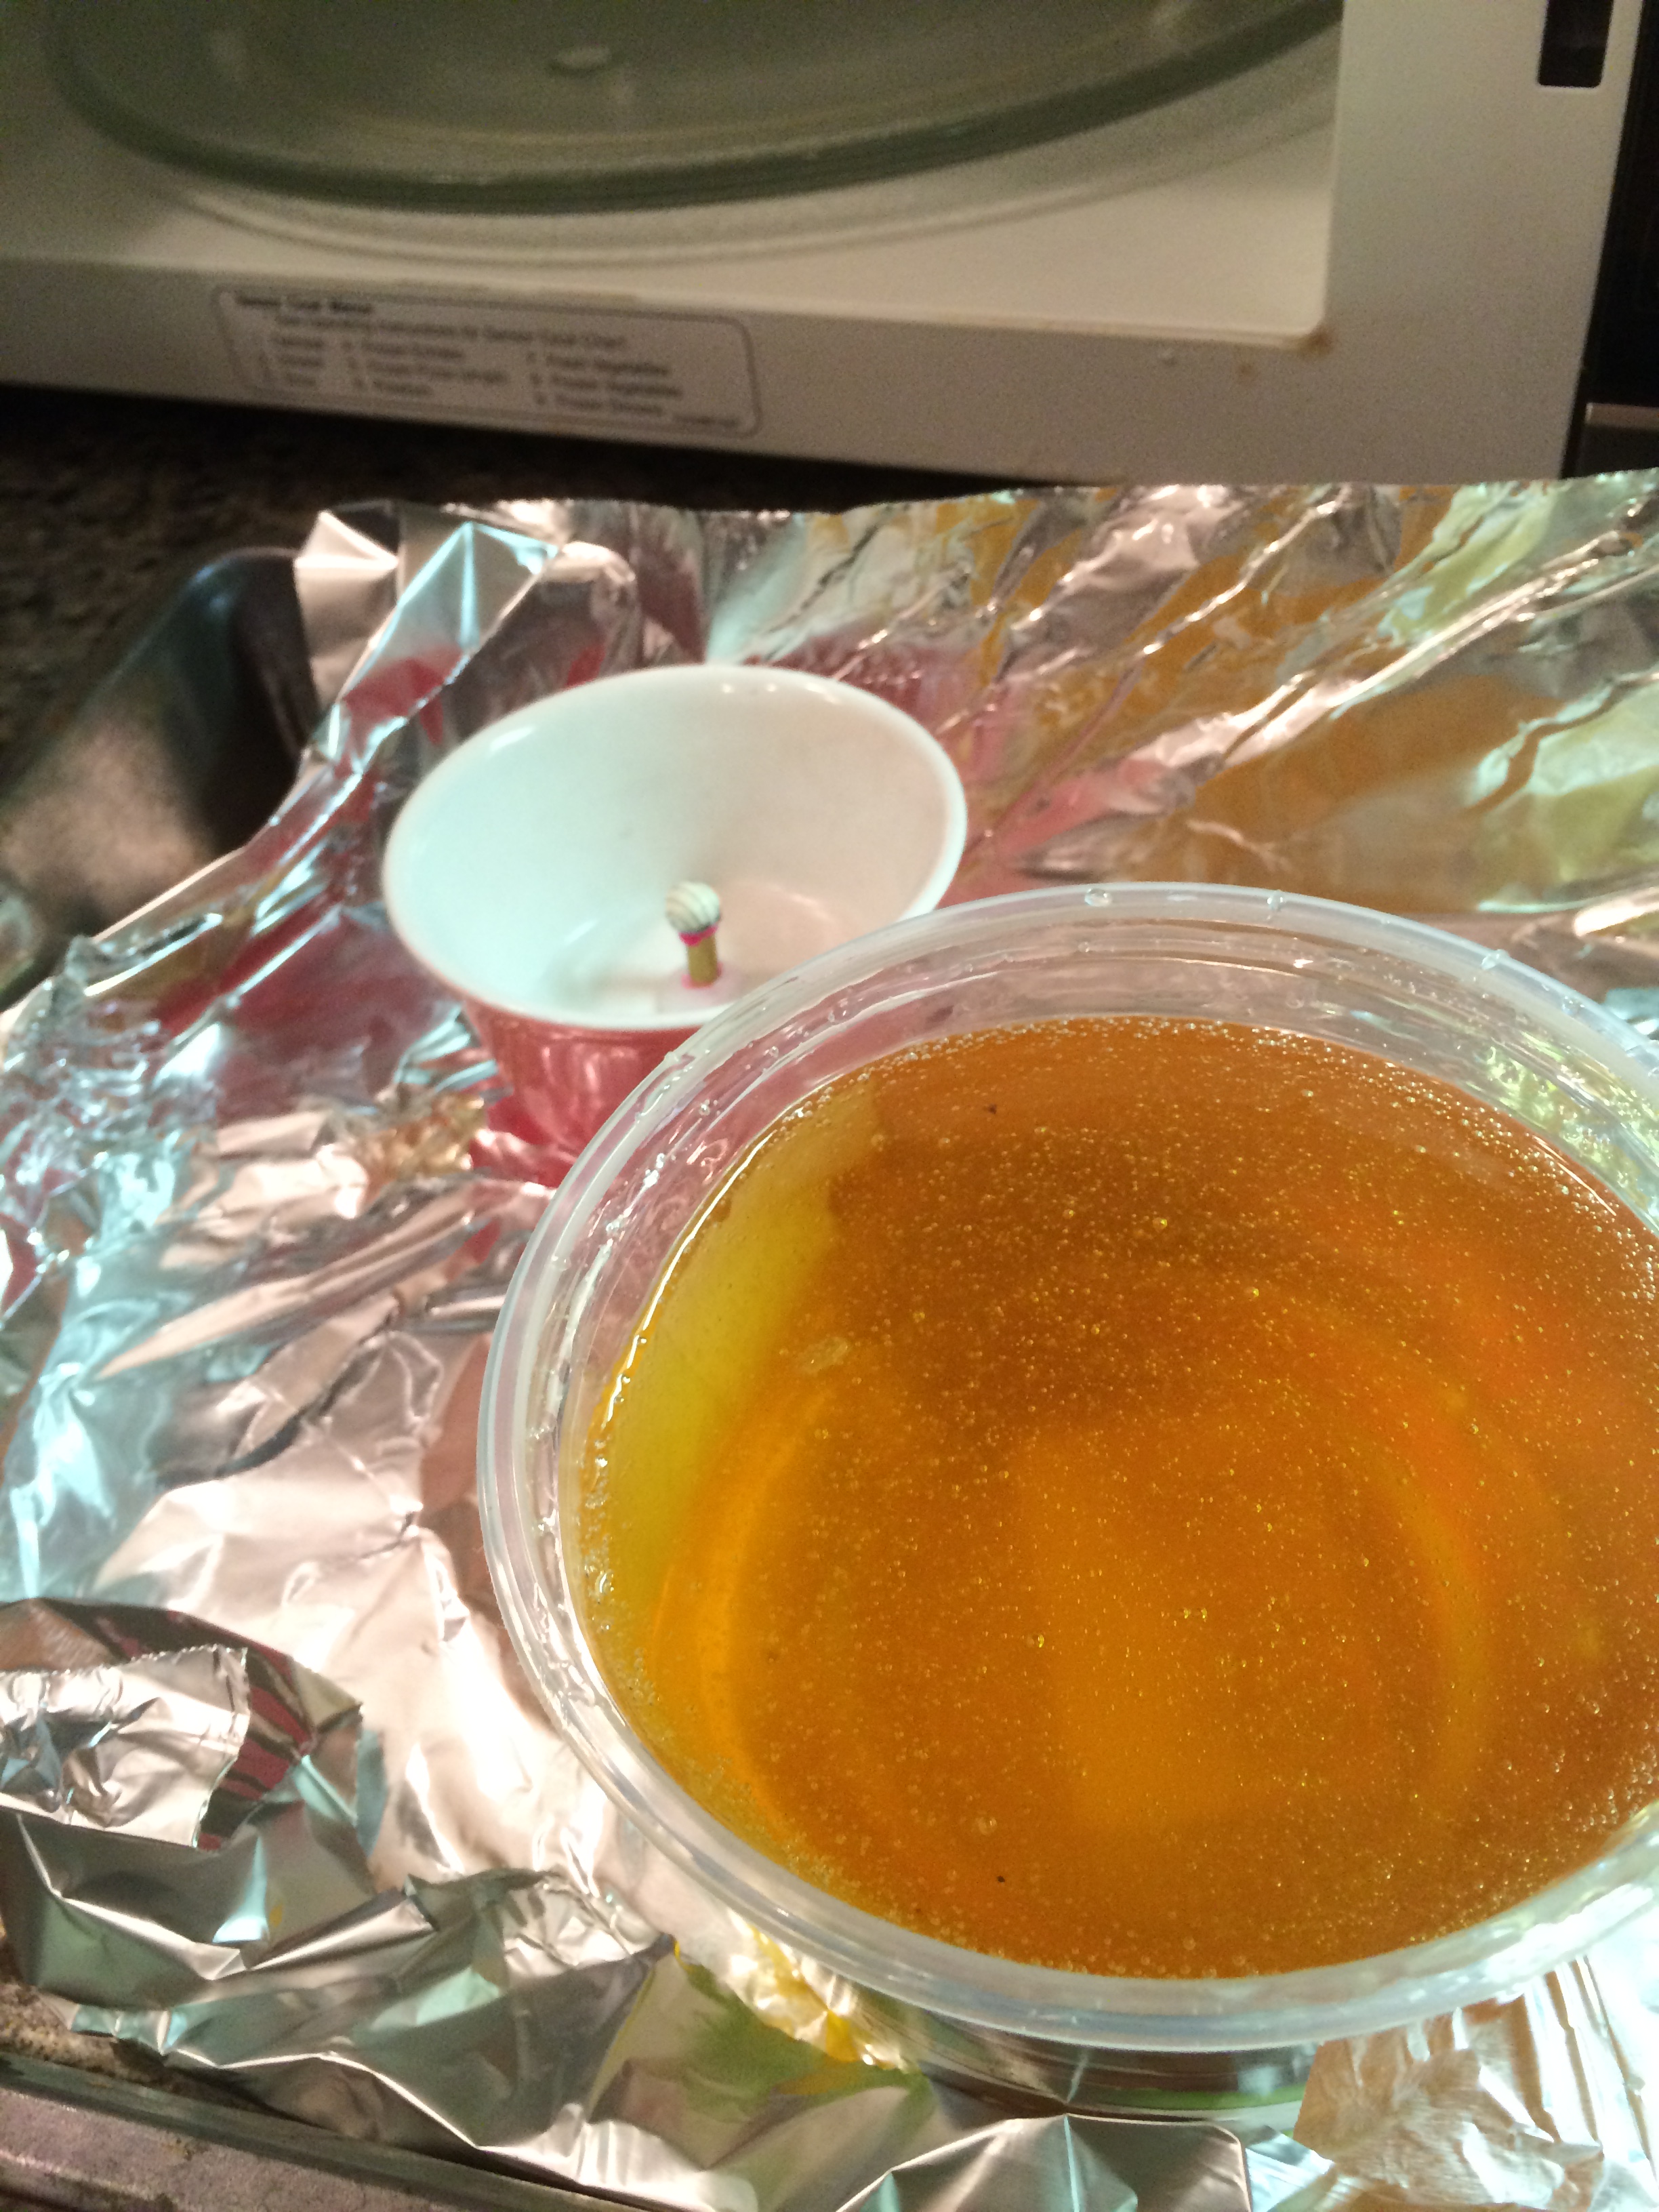
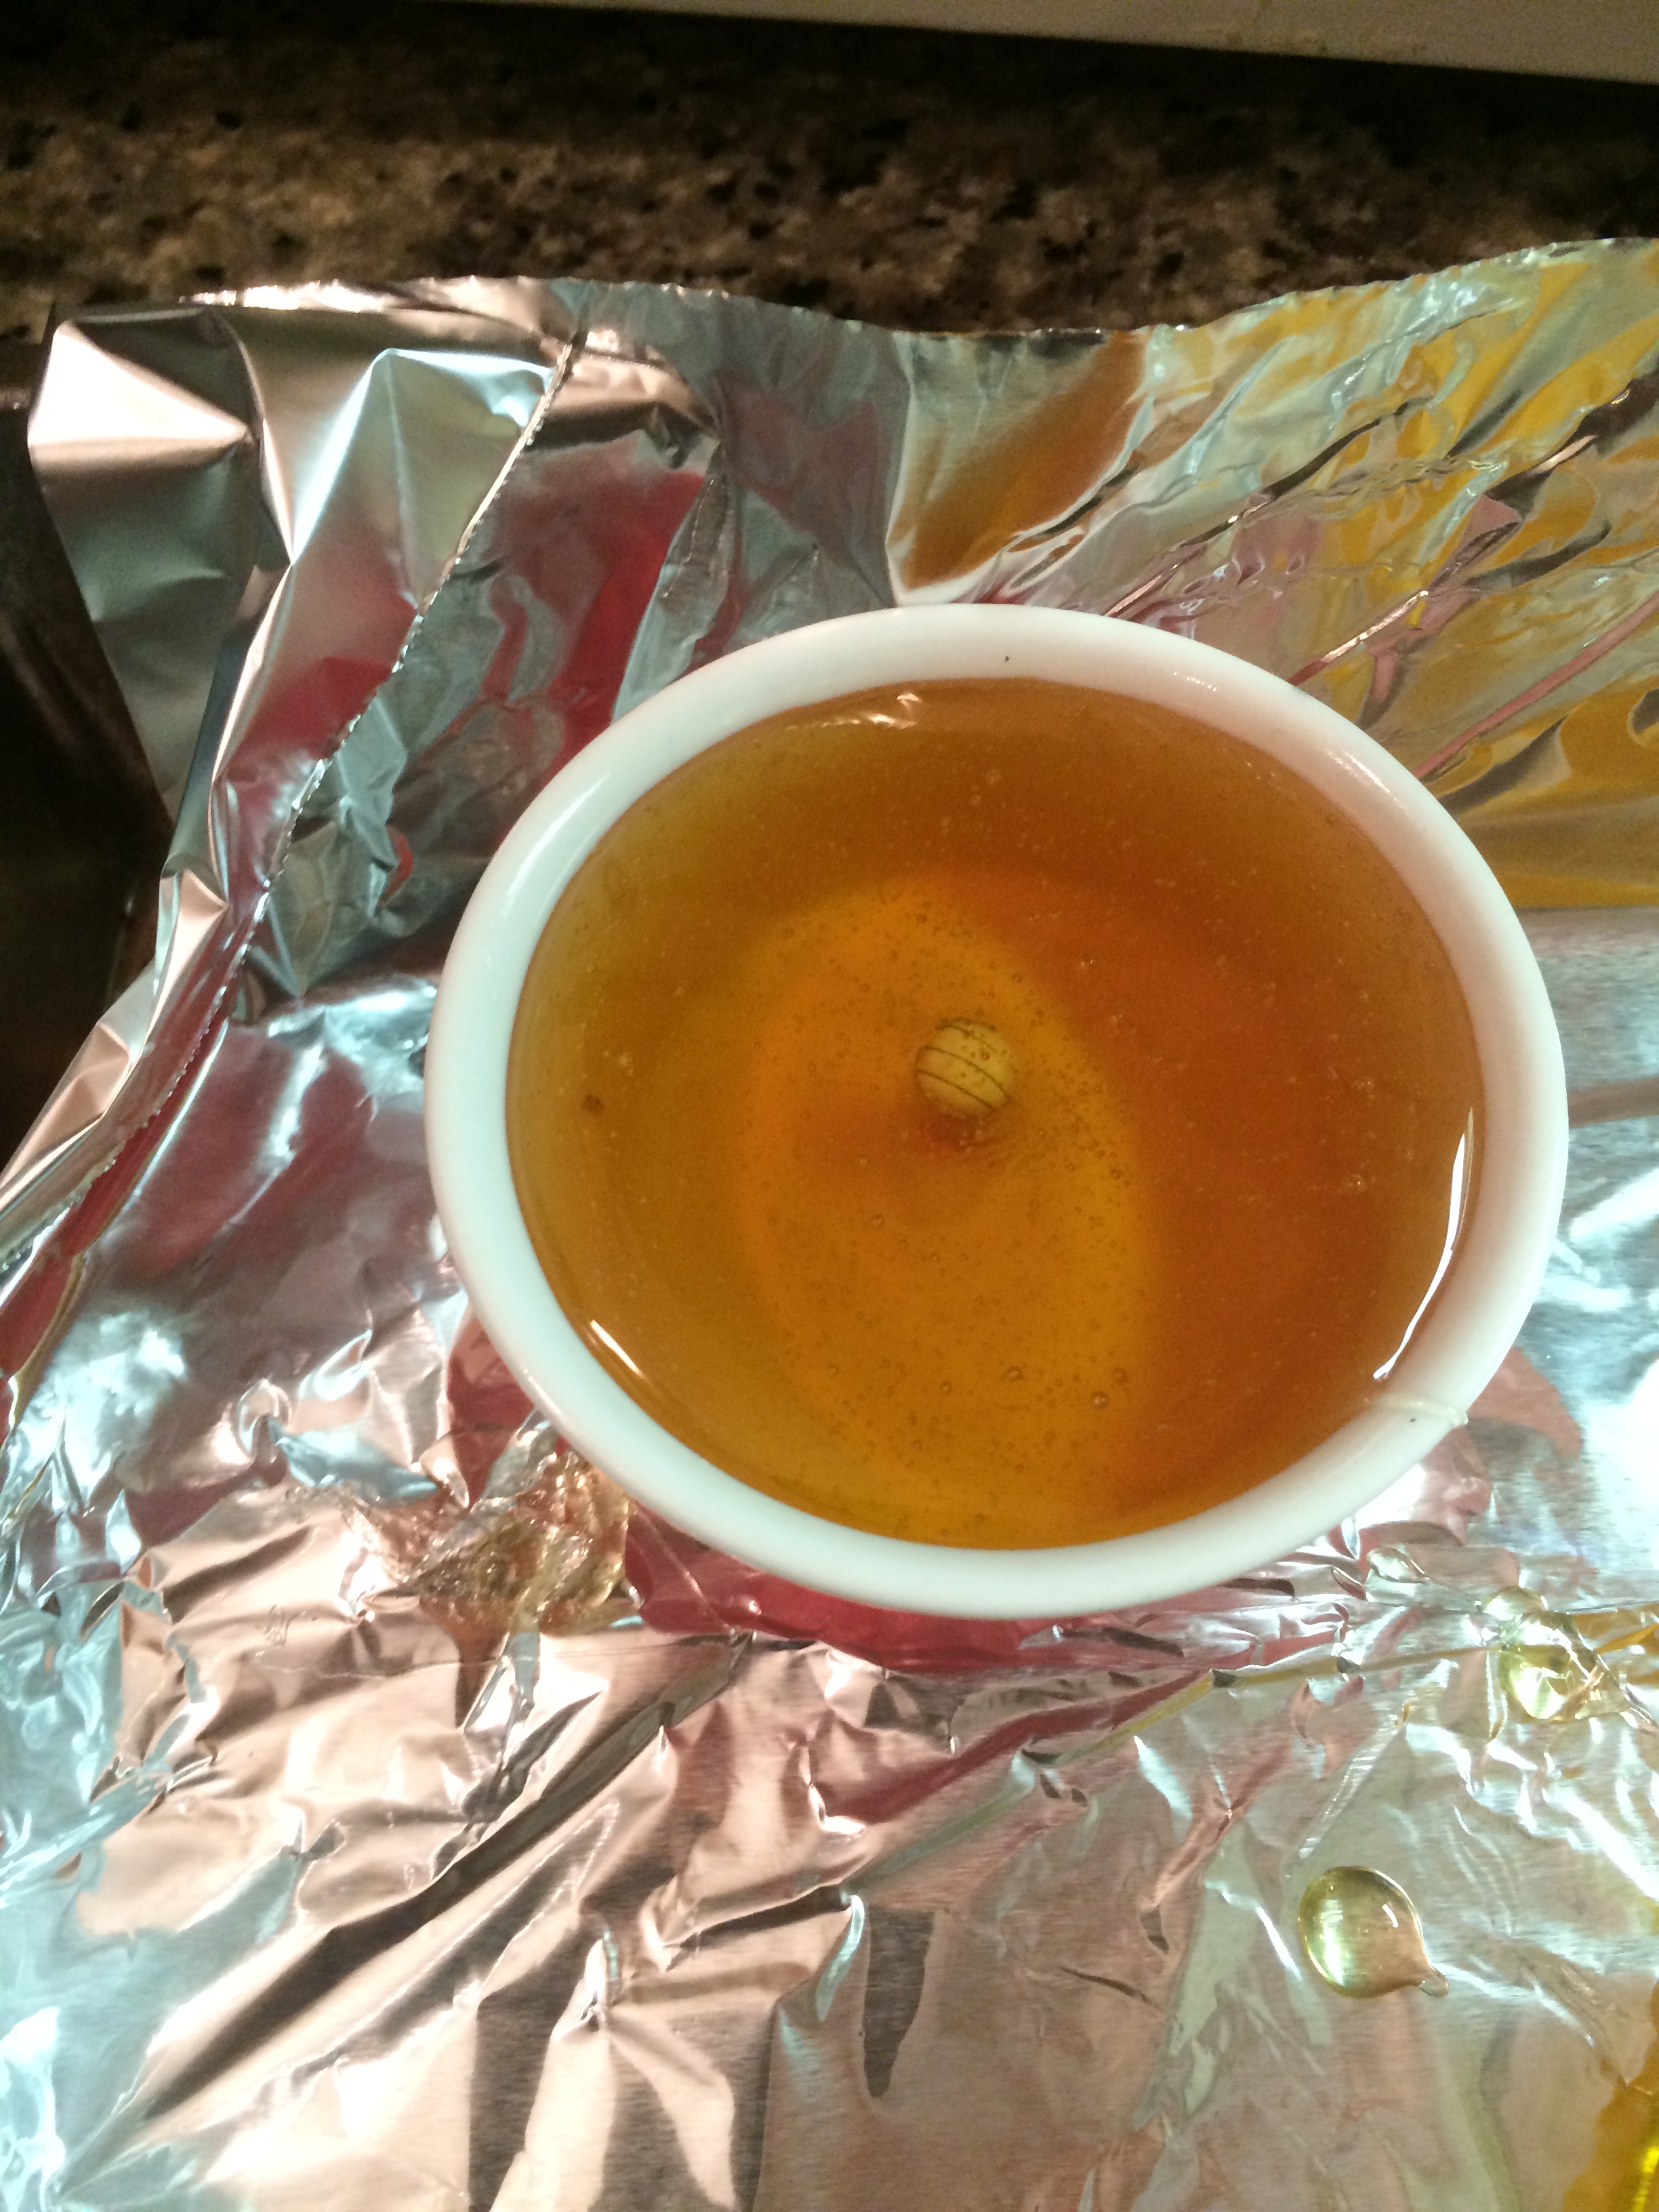
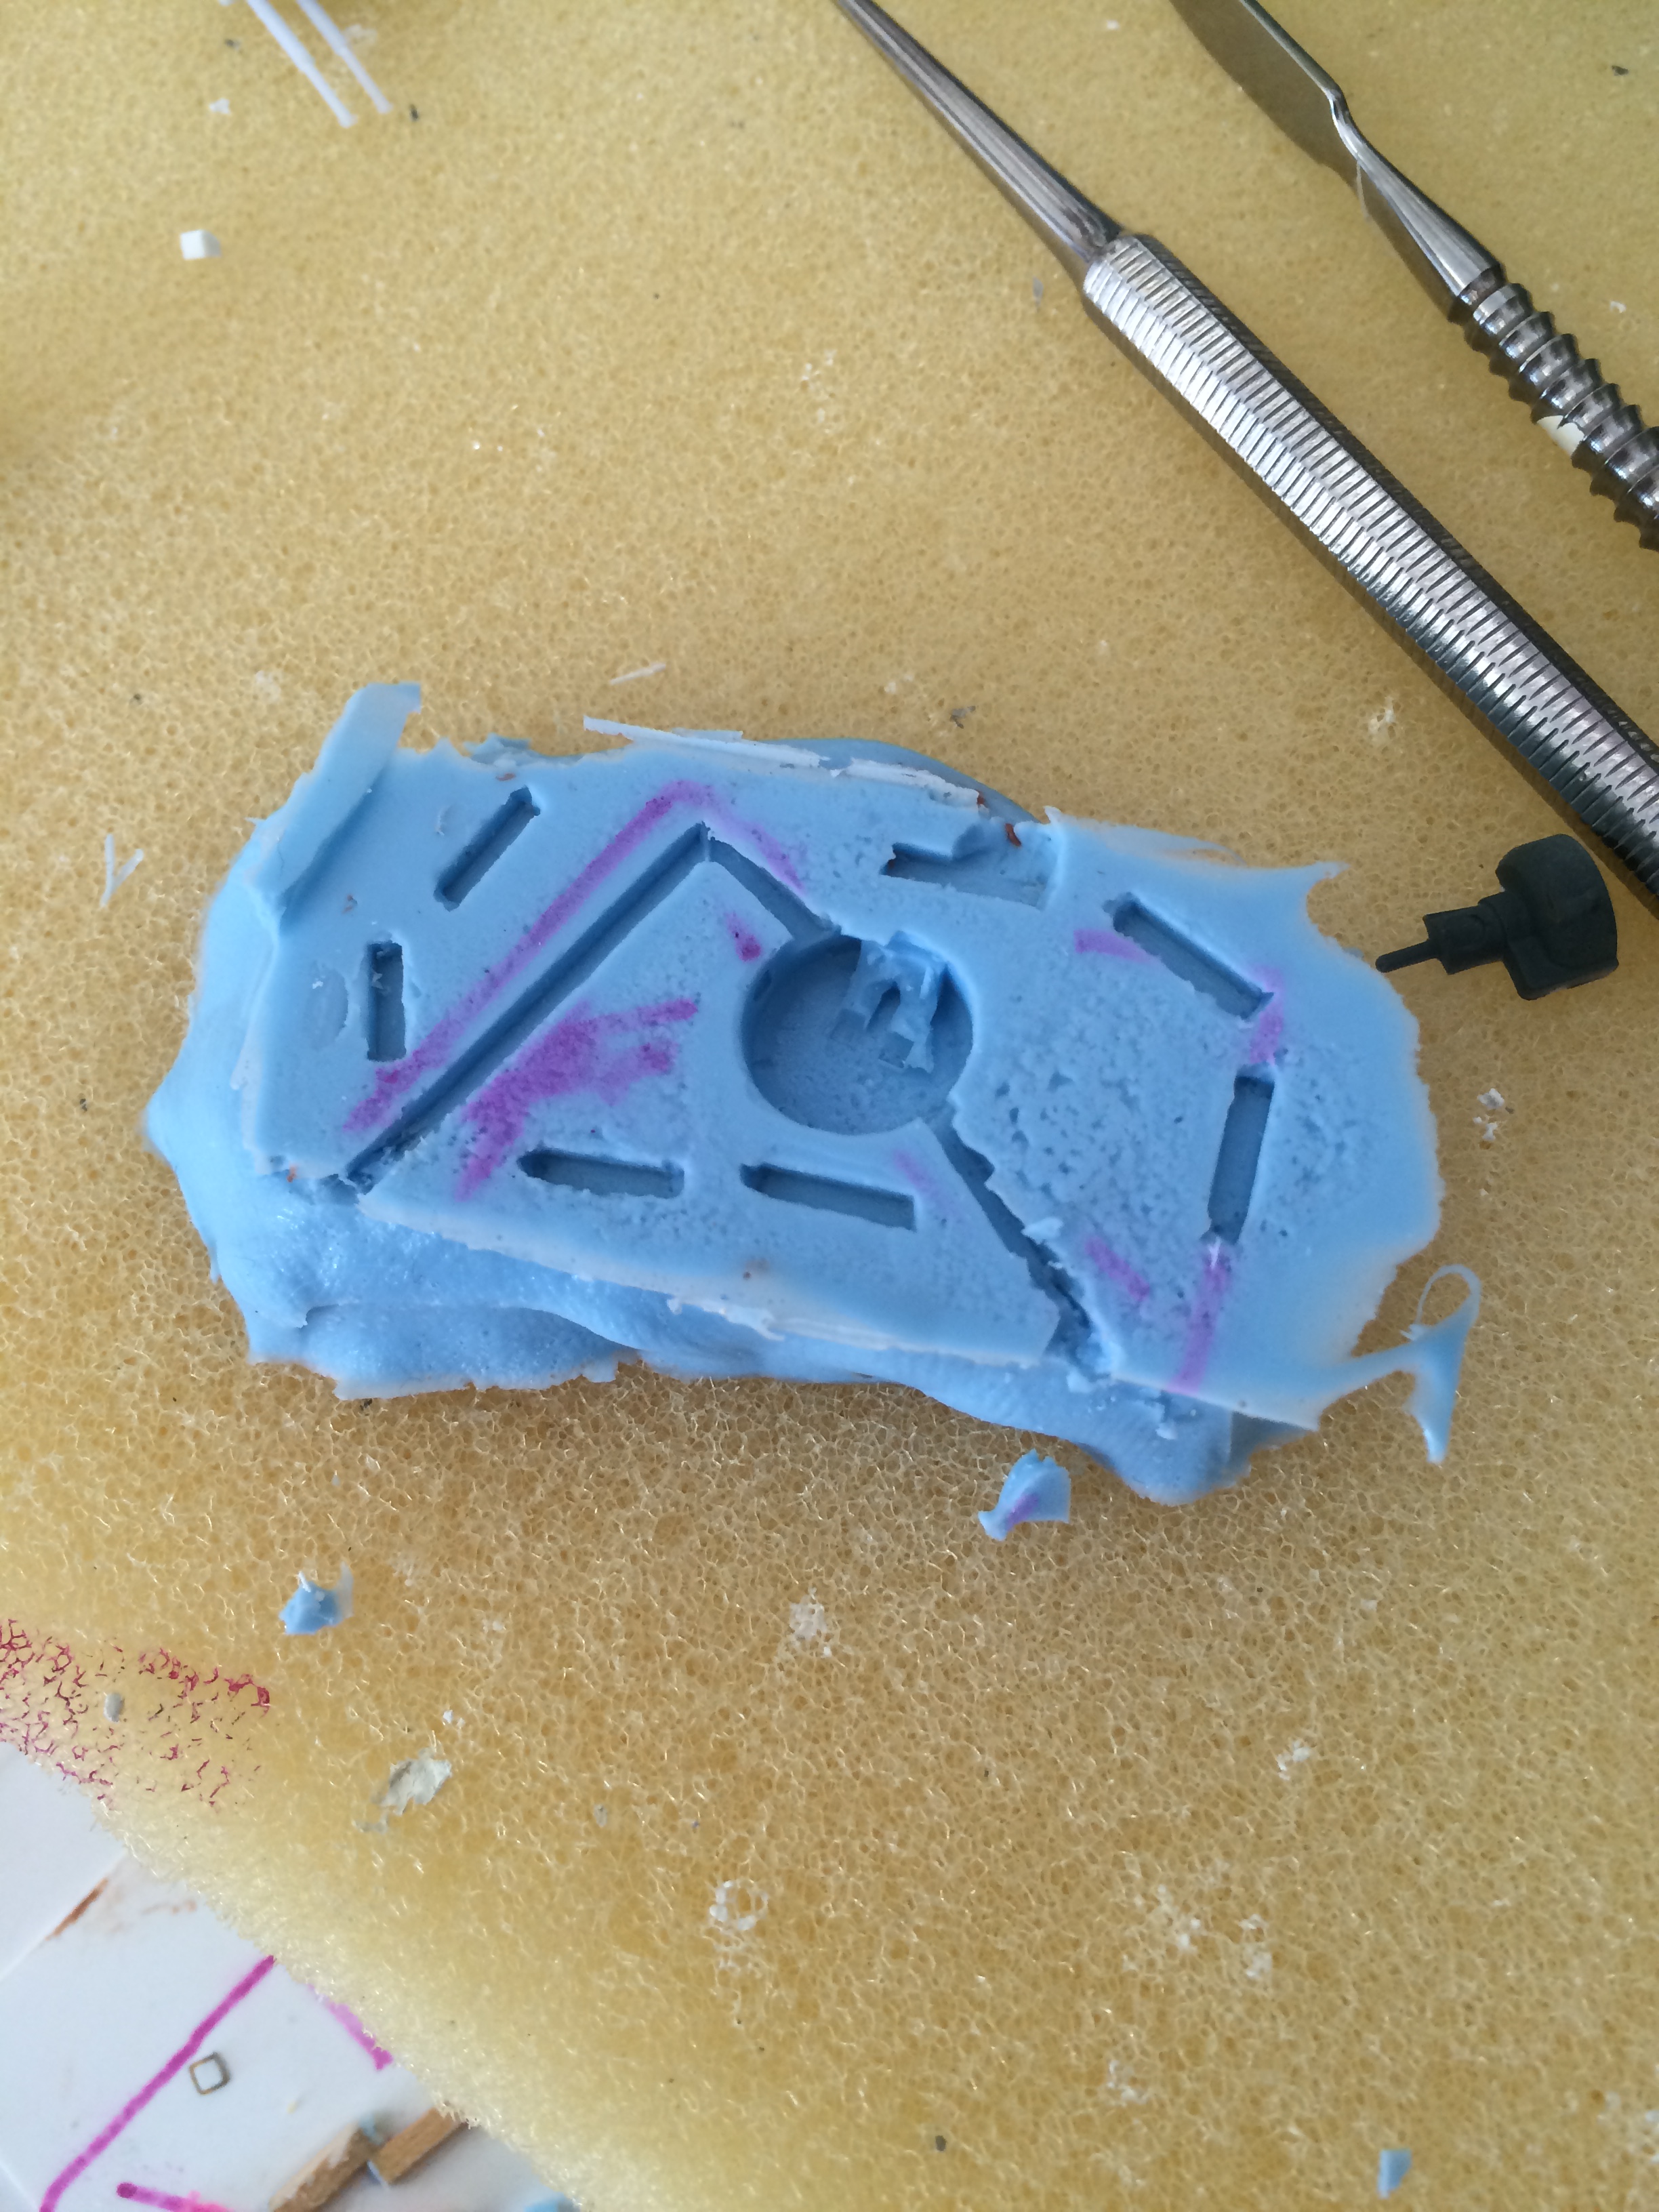
For the mold, I used Micromark’s Composimold – you heat it up in the microwave and pour it over the pattern:
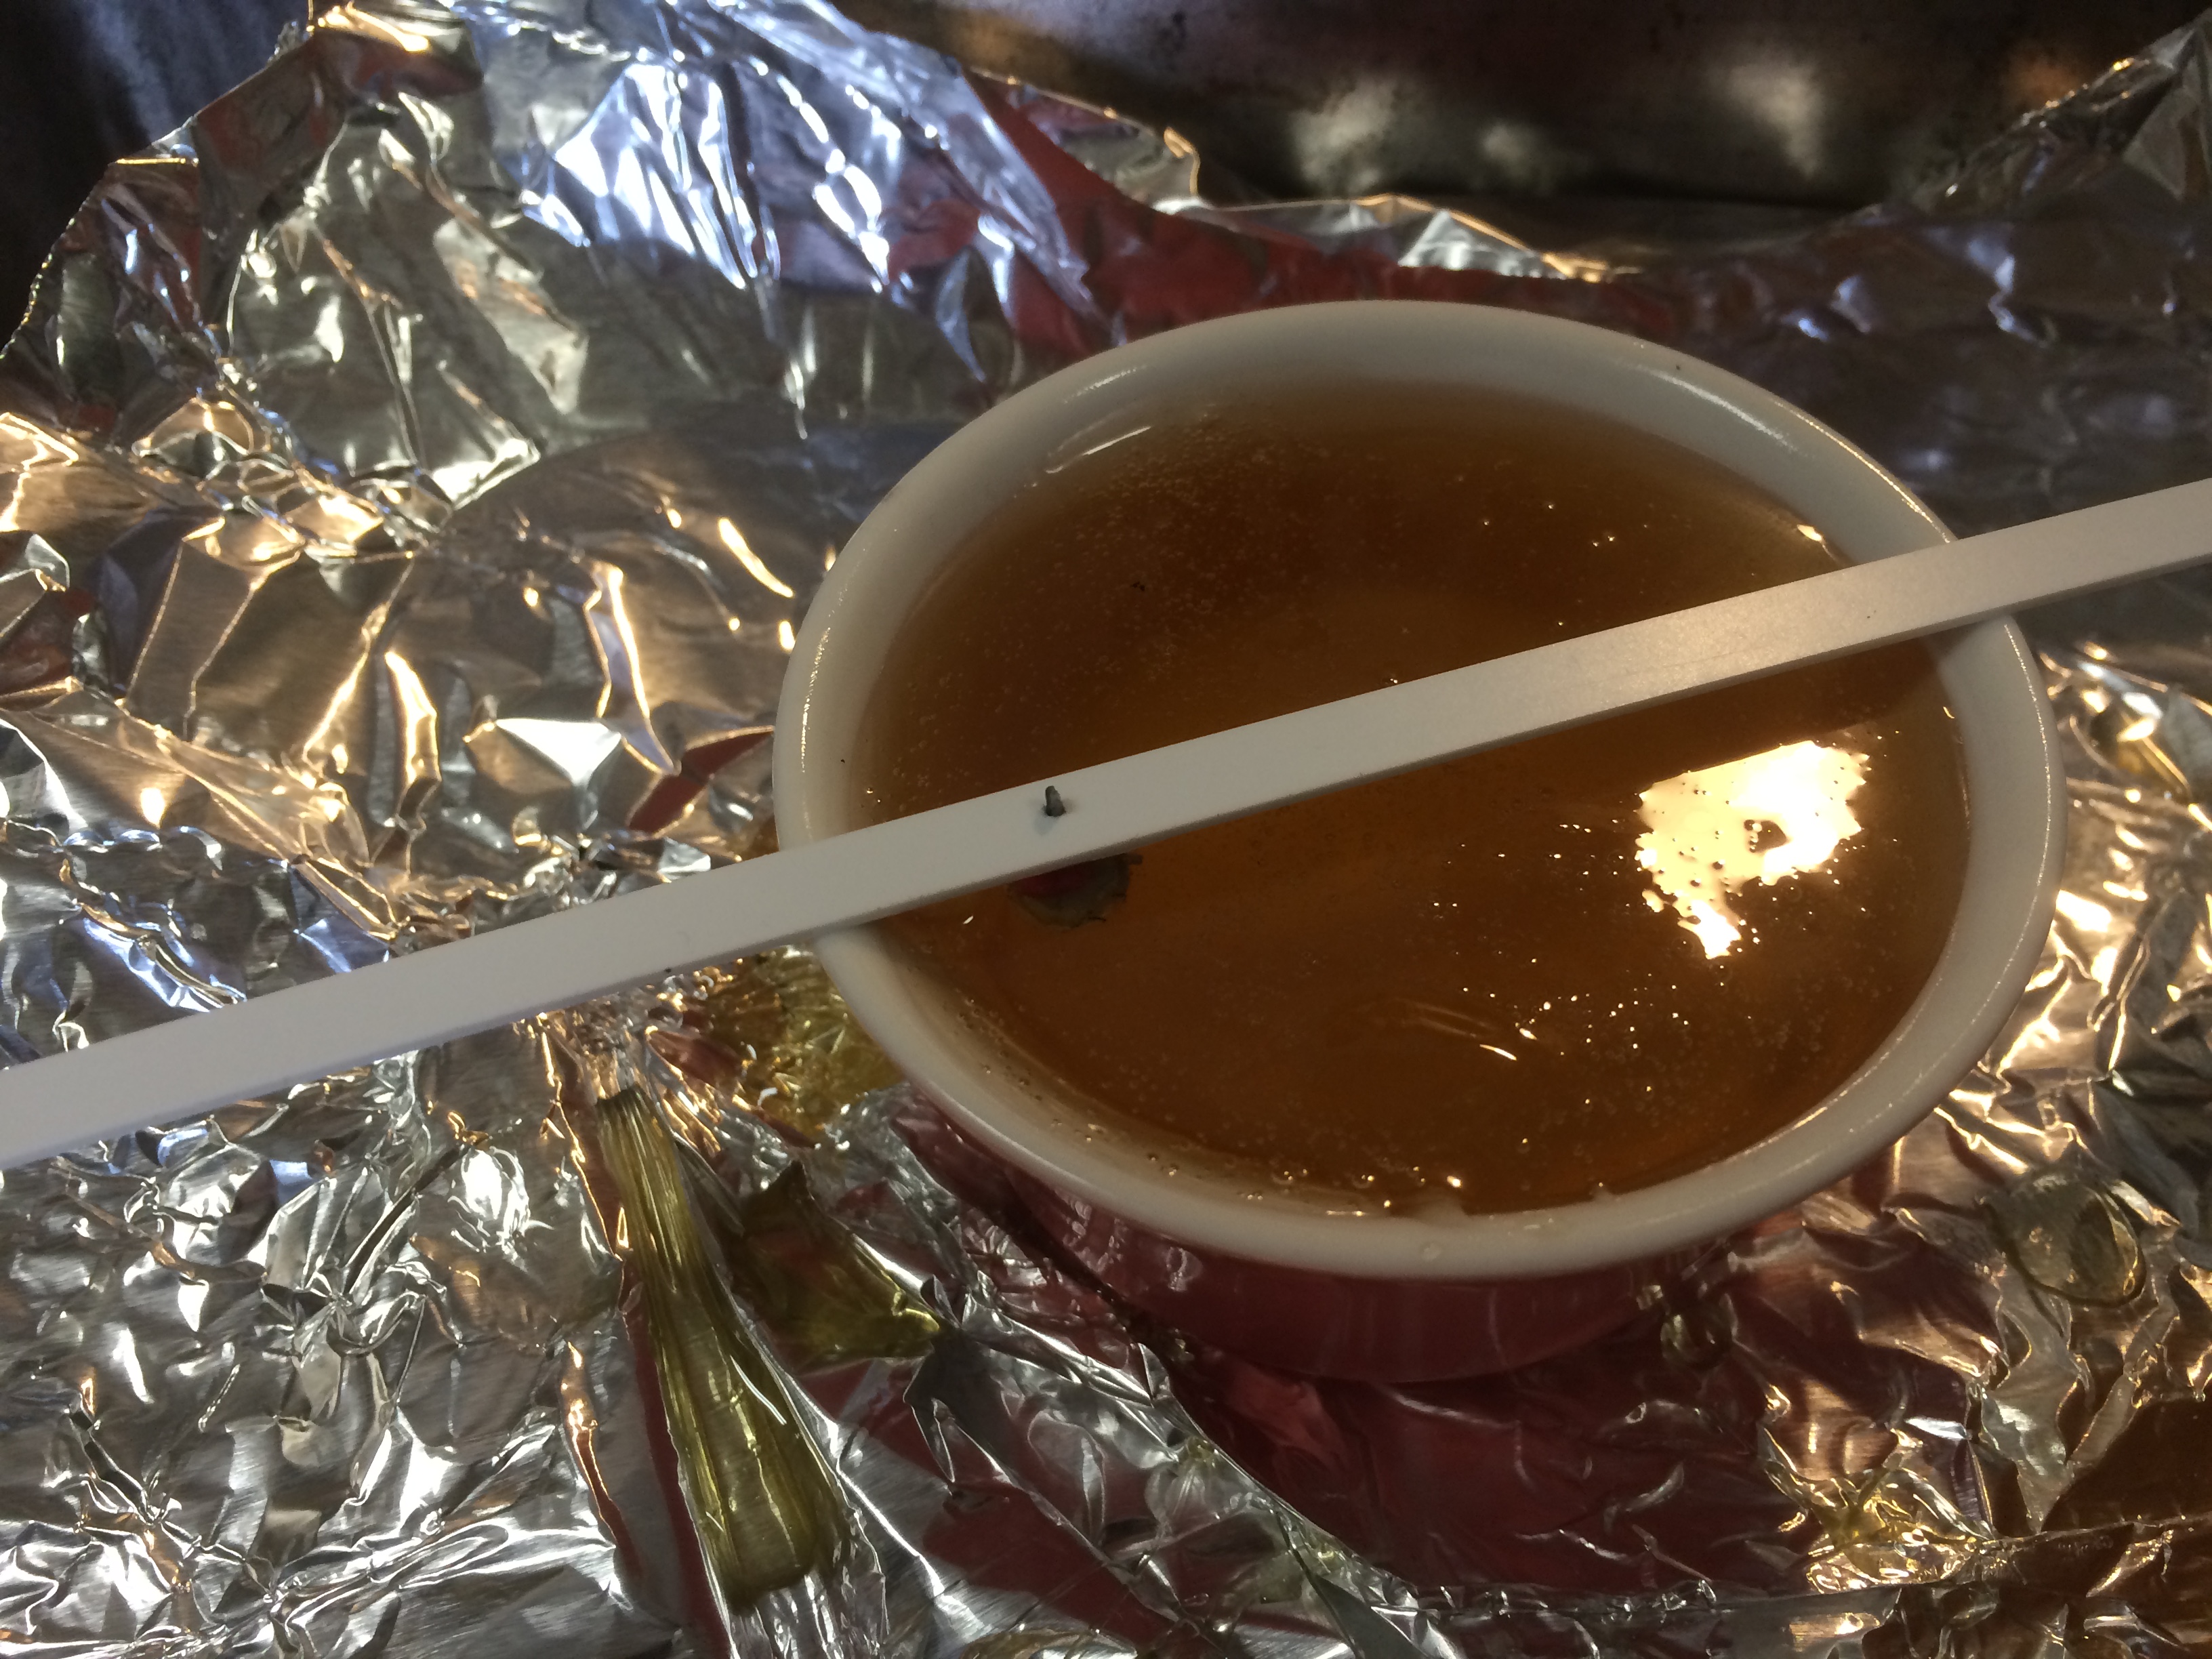
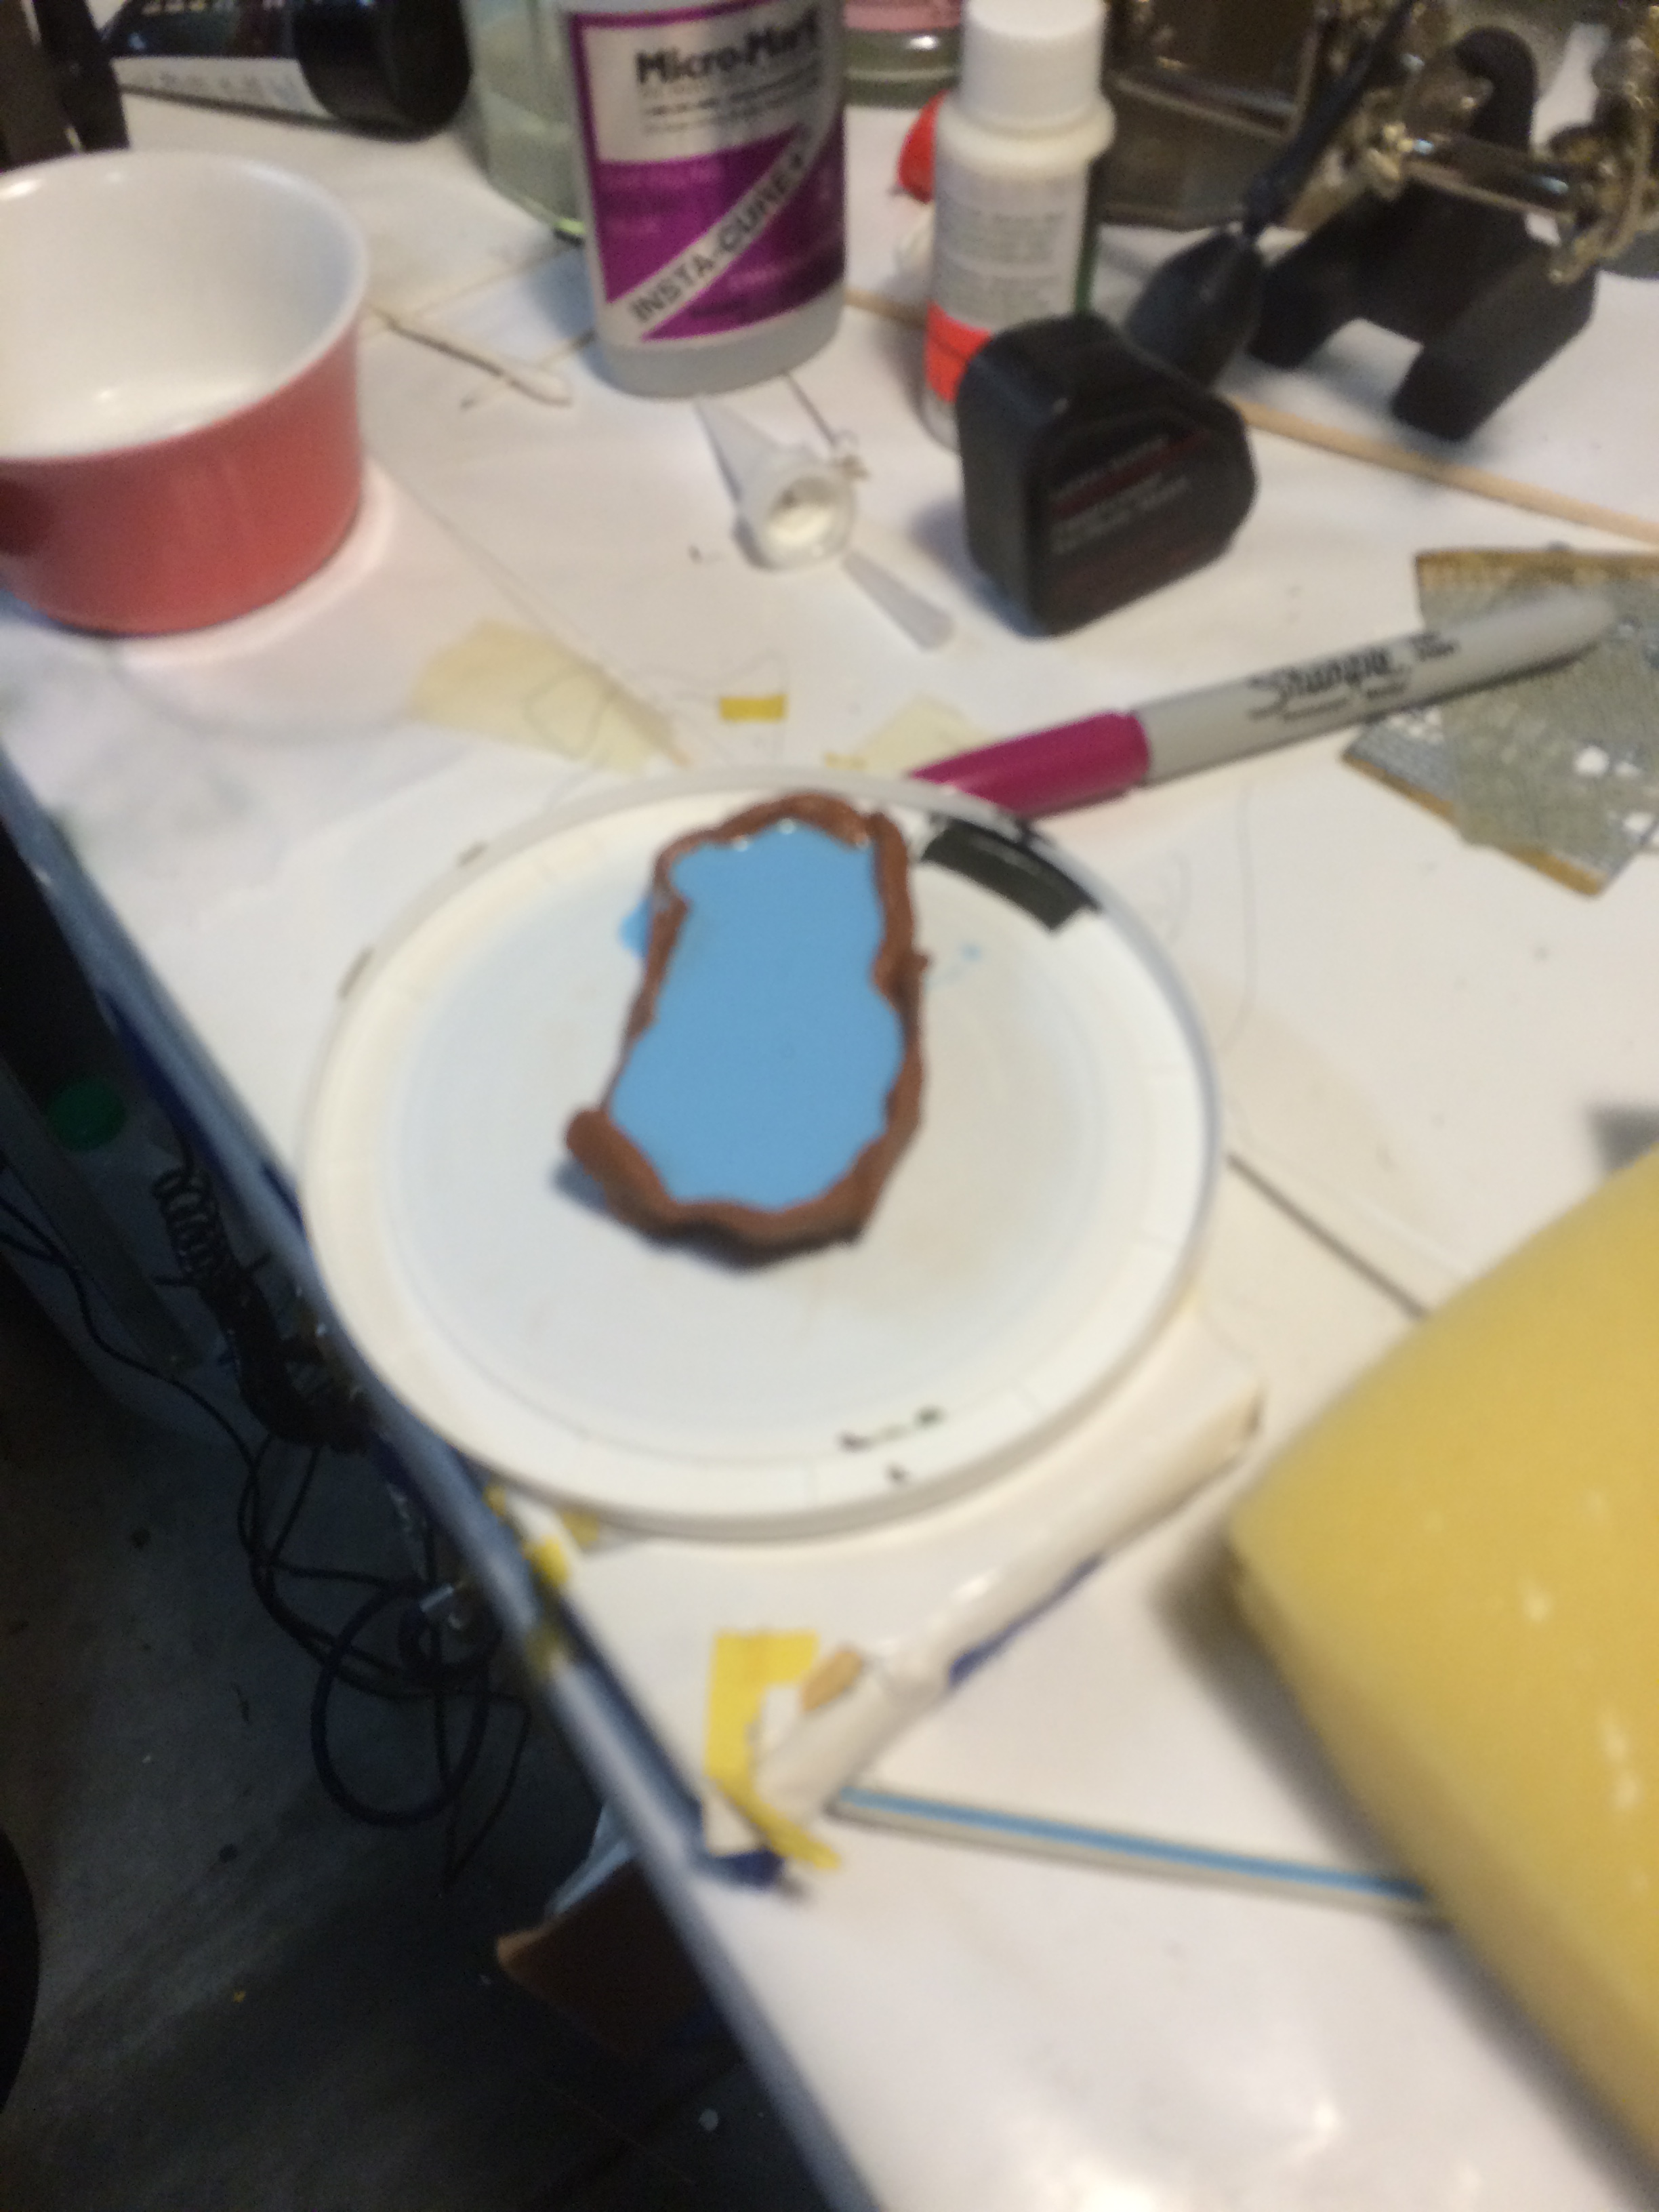
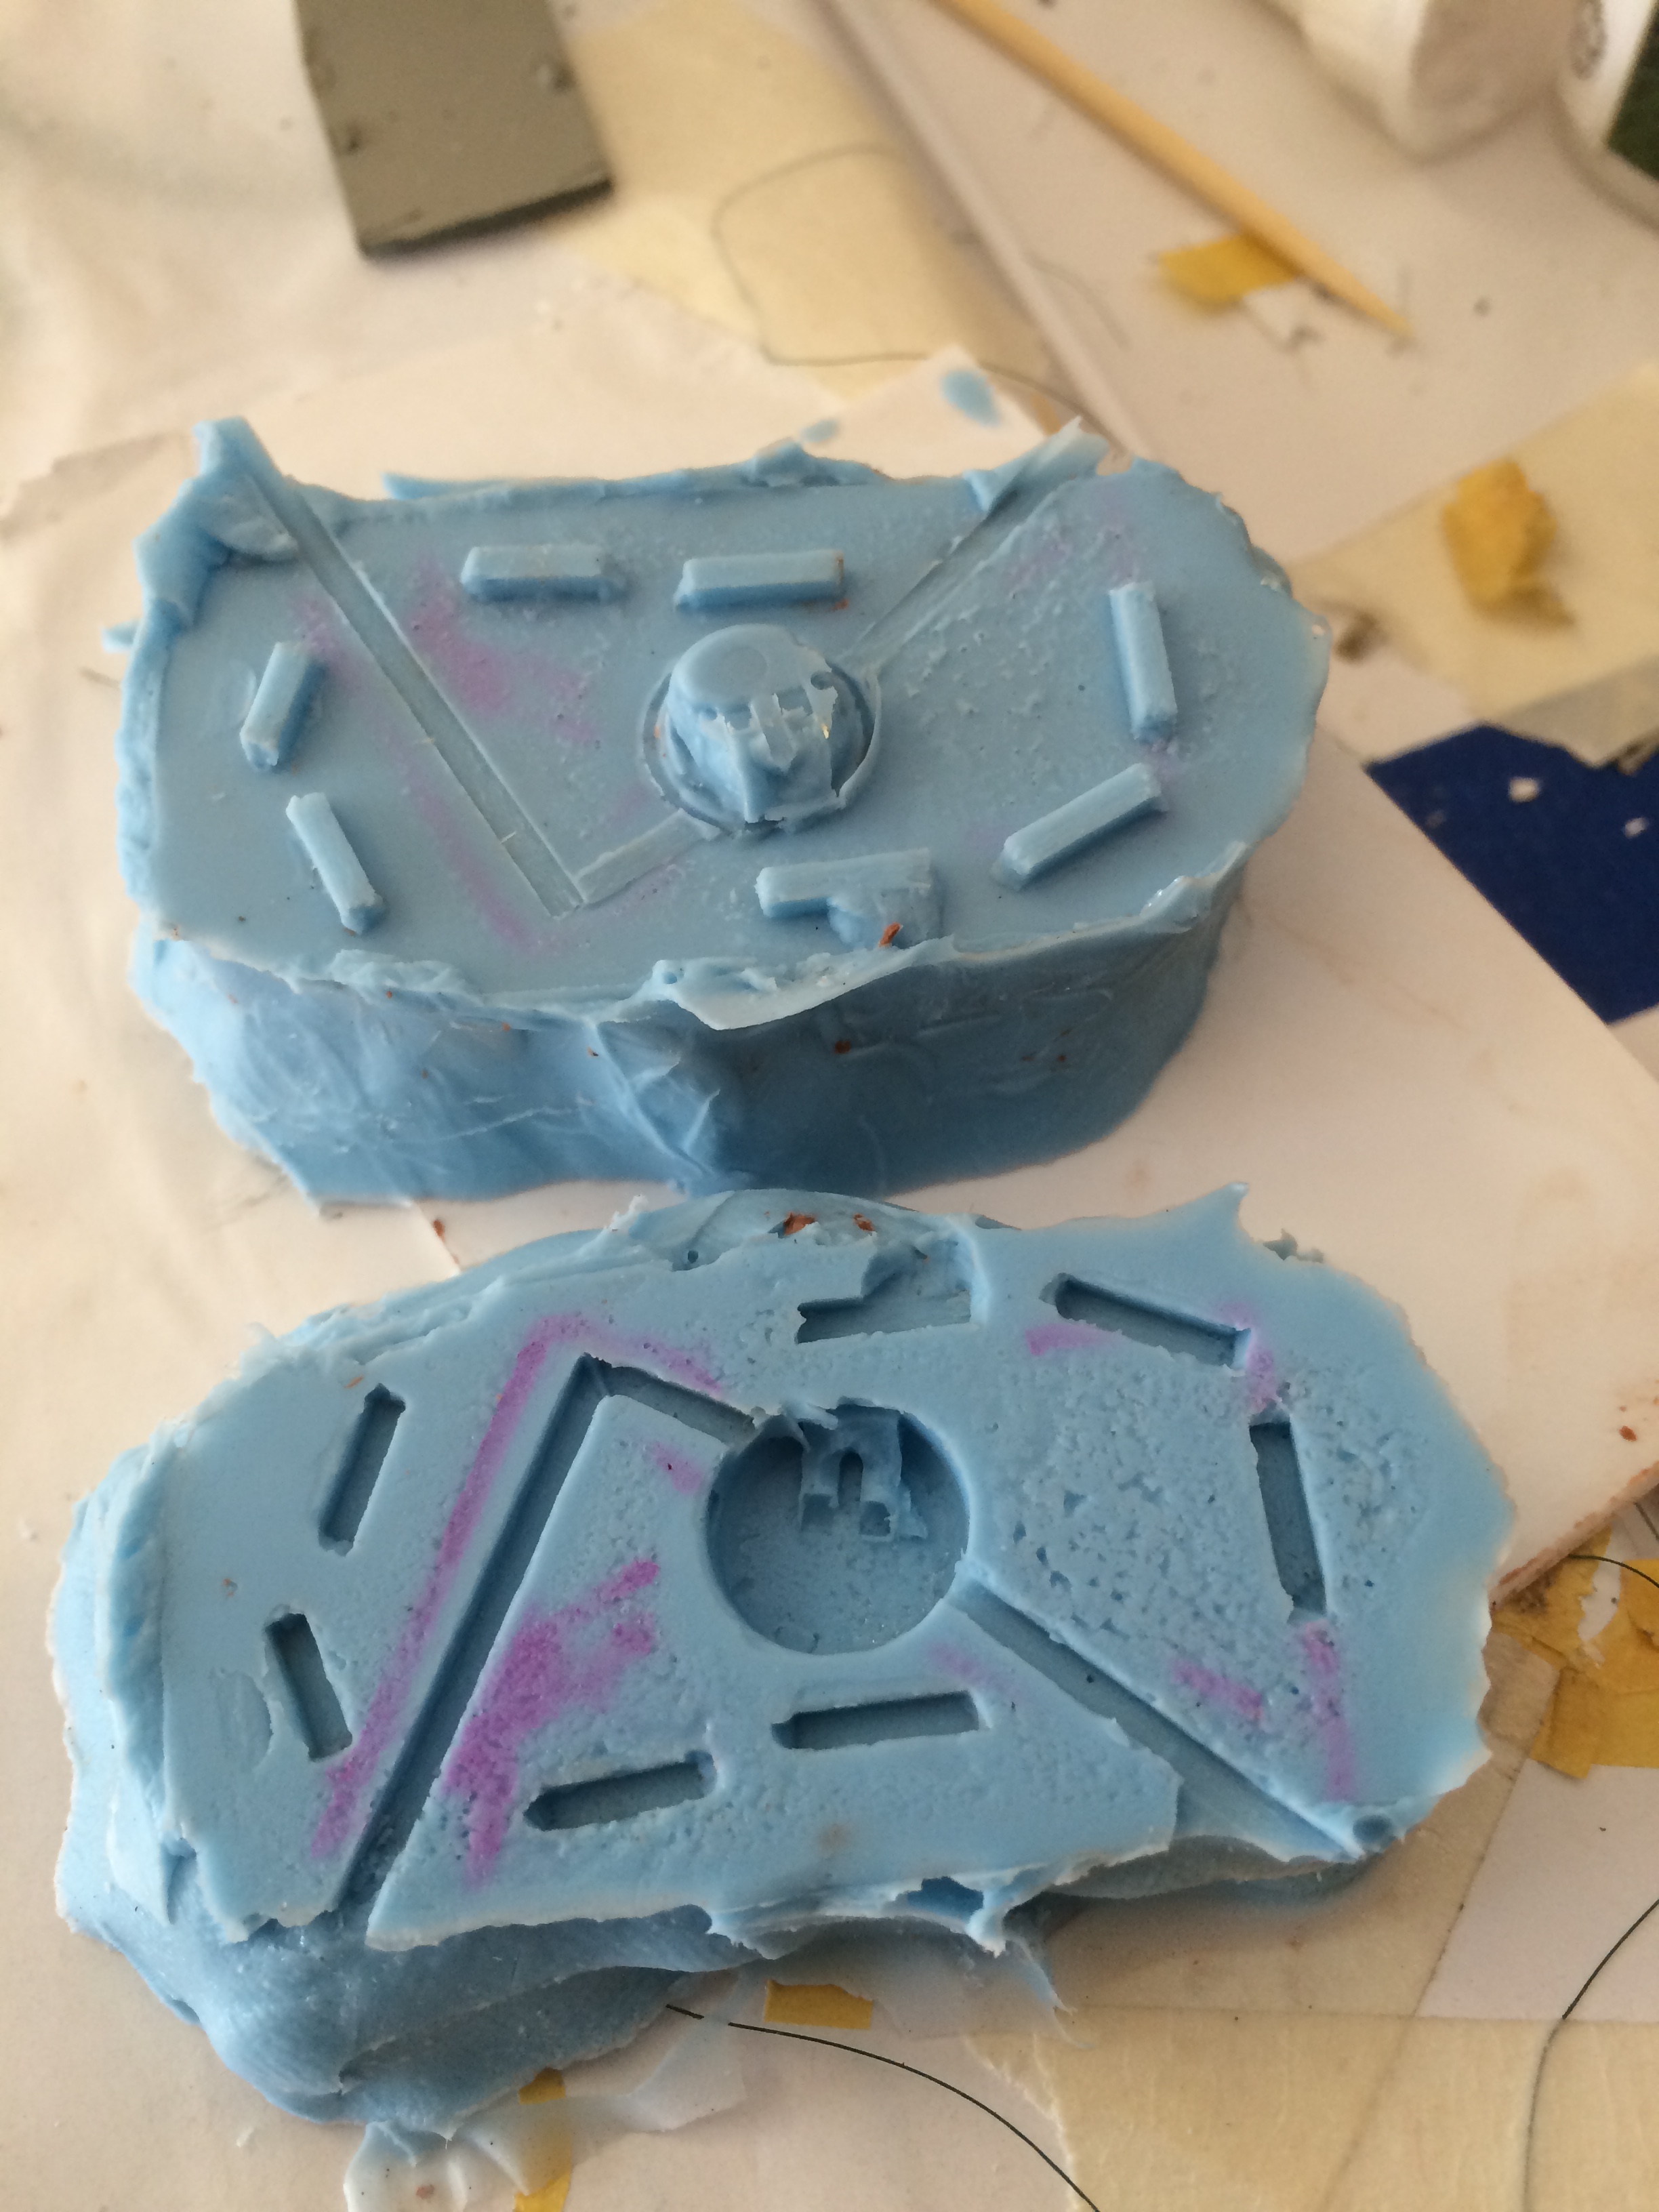
After the mold cured, I removed the pattern and then mixed up TAP Plastics 1:1 epoxy resin. I poured it into the cavity and then came back a few hours later and removed the casting. This didn’t work out really well because the pattern was too deep in the Composimold and hence each cast was hard to remove. I changed the placement of the pattern in a new batch of Composimold like this:
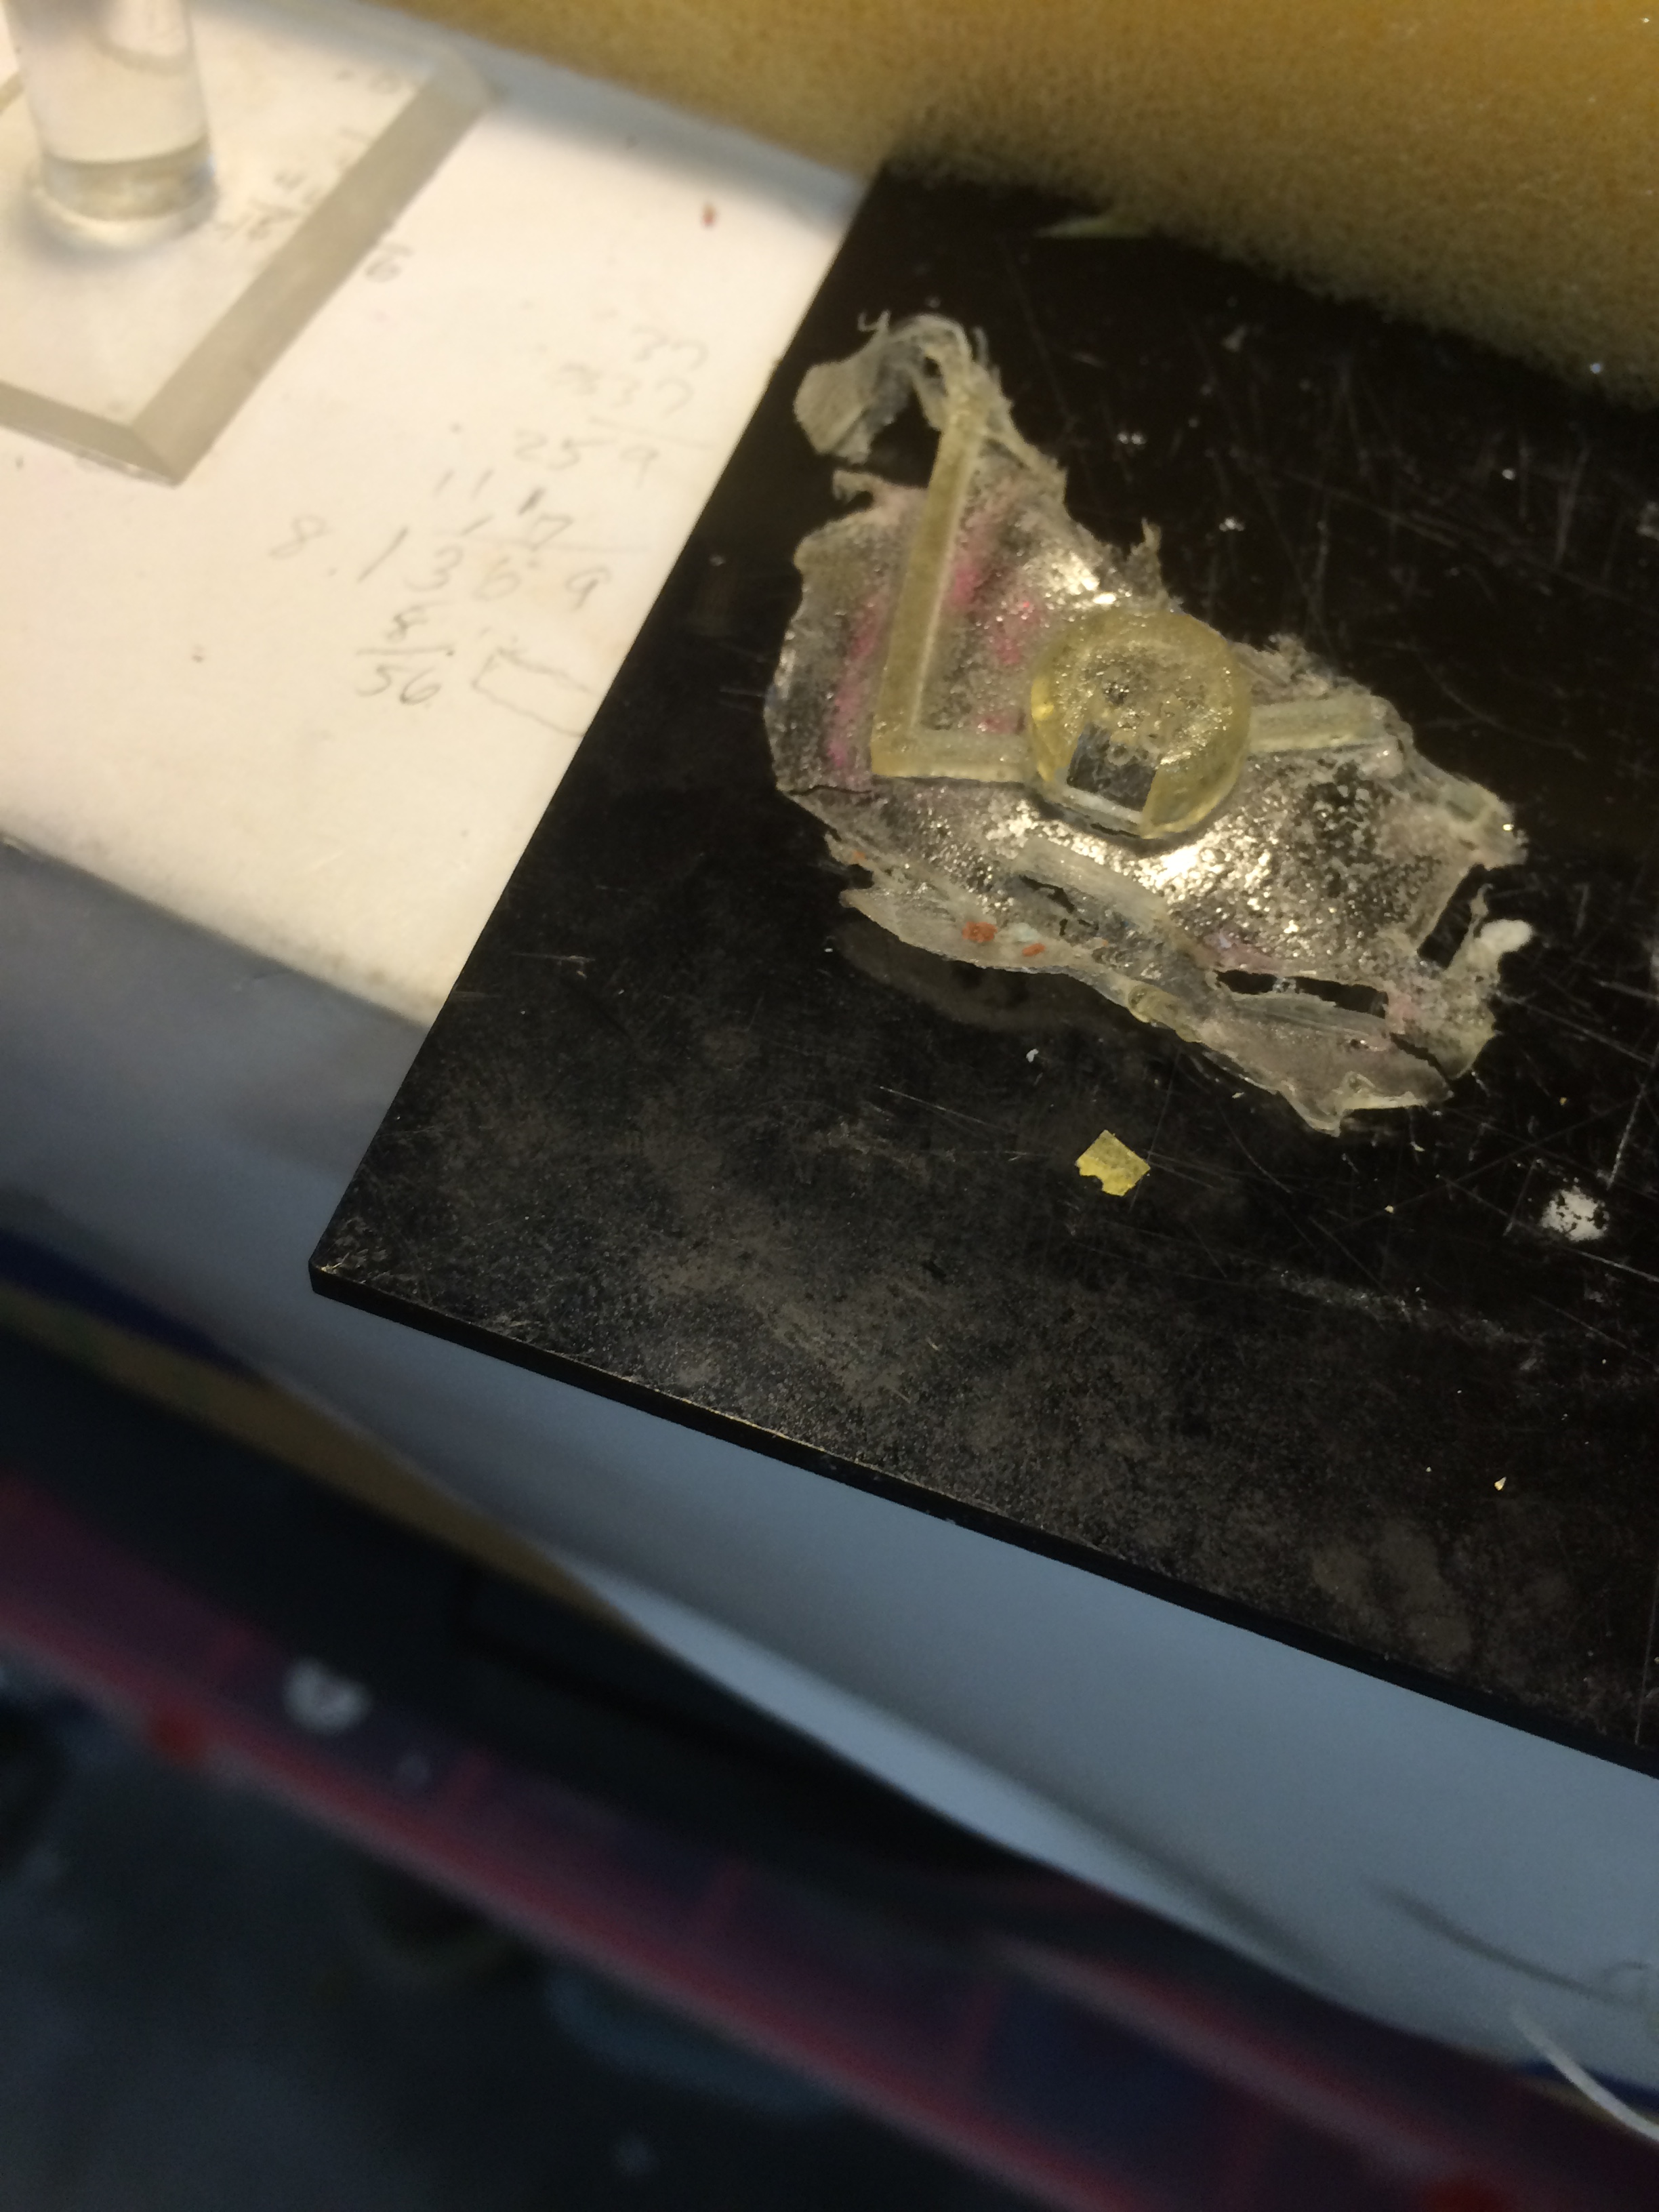
This worked out better and I poured resin in successive sessions. The results weren’t bad:
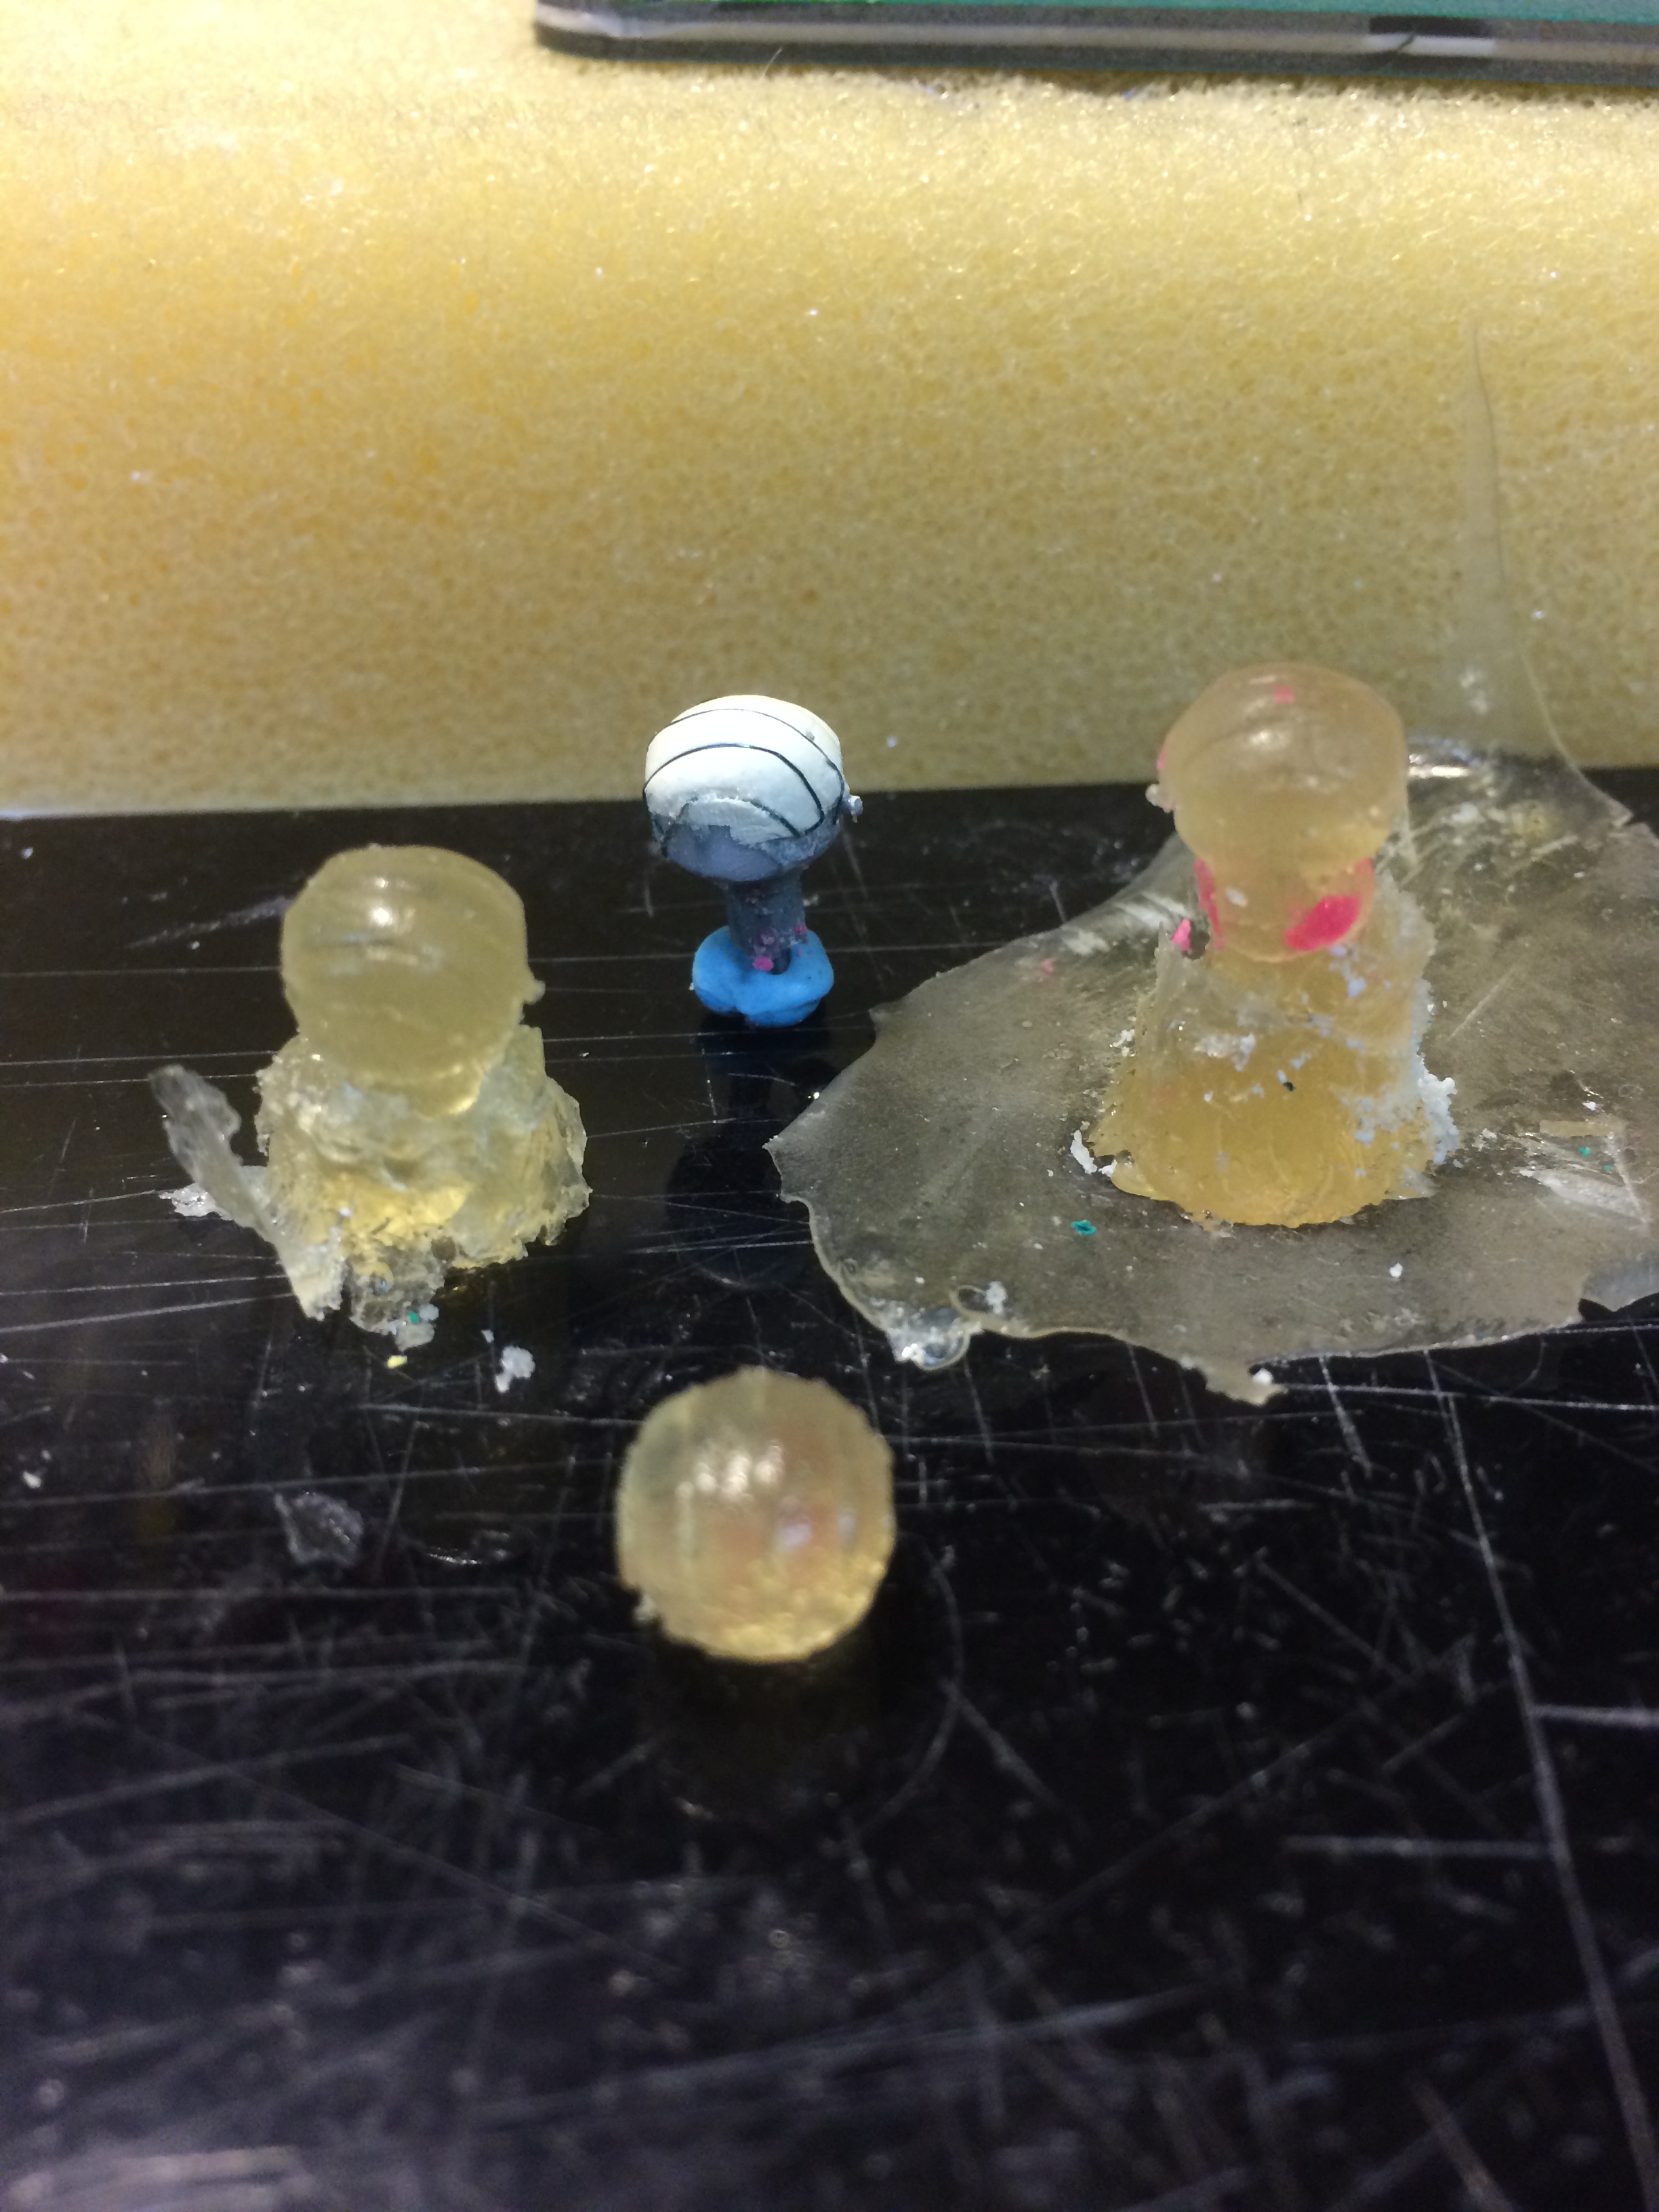
Quite a bit of cleanup was required.
Aside: This was my first attempt at molding and resin casting (ever). I now have tremendous appreciation for resin aftermarket manufacturers who need to a) create perfect patterns, b) repeat step (a) several times when the set requires multiple instances of the pattern (like four HADTs), c) pour perfect resin mixes without bubbles, and d) rinse and repeat for each set to sell.
Well, with this under my belt, it was time to move onto the eight (8) 4.5″ turrets. The kit parts are simplistic in the extreme without any detail at all and a cavernous interior that would be all too visible to the unaided eye. So, I created a new pattern for the turret with an eye to molding seven duplicates. This time, I would make a two-part RTV mold per instructions with the molding material from Micromark.
The pattern was made from carefully cut out tiny pieces of 0.01″ styrene that after gluing, was sanded down to not have so much relief. Here’s the pattern on the base of its mold box (note the channels to pour in resin and allow resin and air to escape built from basswood):
The next step was to pour in the first half of the 1:1 RTV mold (this is really messy):

After curing, I removed the pattern (note the locator points for the second half of the mold):
I built up the mold box somewhat higher and then reinserted the pattern followed by pouring in RTV into the second half of the mold. The RTV doesn’t stick to itself but you definitely need mold release agent on the pattern and mold box (made of modeling clay)
And here we have the two mold halves:
Some cleanup to the mold was made with a sharp X-acto knife and then it was time for the epoxy resin. I decided that pouring resin down the channel was not practical as the channel has a narrow cross-section and resin is really thick. So, I poured a small amount of resin into the cavity of the bottom mold and then pressed the top mold into the bottom mold using the locator pins to ensure an accurate fit. This is apparently called squash molding. After waiting for the resin to cure (not enough time on my first attempt), I separated the mold halves and removed the casting (the right-hand picture is from squash mold #1 when I used too much resin – I had less runoff on try #2):

And here I show the pattern versus the casting:

I wasn’t happy with the results as I realized the RTV mold wasn’t good enough to be accurate (the tongue separating the two gun barrels didn’t really work in the mold). Since making a new mold would be time-consuming, I decided I would manually replicate the detail with styrene on the other seven turrets. This would be tedious but would have predictable quality. An additional motivating factor was that the resin casting needed cleanup and that would be a lot of time spent – possibly erasing the cast detail with sanding!
Were I to do this again, I would use coloring to the resin to make it easier to see the results and try it on larger pieces with less complexity (it is interesting to note that the Micromark instructions cast a model RR bridge side without any curves or delicate appendages). Obviously, more skilled modelers could do better. But this project needs to finish in my lifetime.
The real answer of course is 3D printing – design the master, replicate in software, and then print. If the master isn’t accurate, tweak it in software. Not cheap but in theory, predictable and repeatable. Someday, someday.
